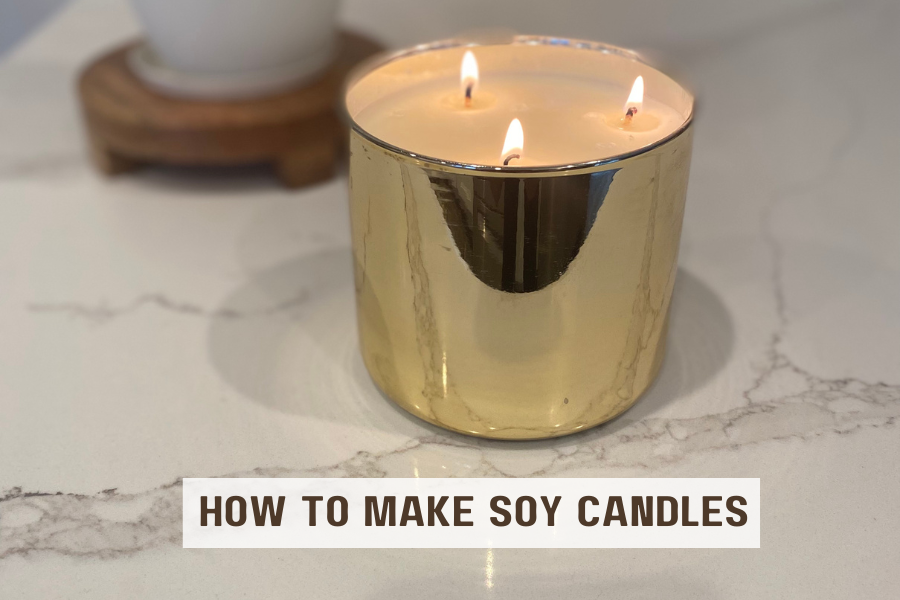
Are you interested in learning how to make soy candles to sell or do you want to find a new hobby? We have got your back with this easy tutorial on how to make soy candles for beginners. Candle making can sometimes be a challenge and there are a lot of factors to consider when trying to make the perfect candle.
As someone who knew nothing about candle making last year, I am here to tell you that it is possible to make your own candles at home and actually much easier than you think. I will share with you some tips, guides and tricks to candle making that I have learned along the way. I have made all the mistakes so that you don’t have to!
In this blog post, we will show you the easiest way to make soy candles at home that you and your family can enjoy! Whether this is your first time making soy candles or you have experience, this step by step guide will bring you some helpful insight into the world of soy candle making.
Happy candle making!
This blog post is all about how to make soy candles at home.
*Please note as an Amazon Associate I earn from qualifying purchases.
Best Candle Accessory Set
Are Soy Candles Hard To Make?
Soy candles are not hard to make once you have had some practice with them. Making the perfect candle is all about trial and error.
How To Make Soy Candles At Home
When we first started looking into what wax to use and how to make candles at home we quickly realized that there are so many different methods to making your own candles.
The first thing you must decide on is what type of wax you would like to use. We suggest soy wax because it is more eco-friendly and burns cleaner compared to traditional paraffin wax.
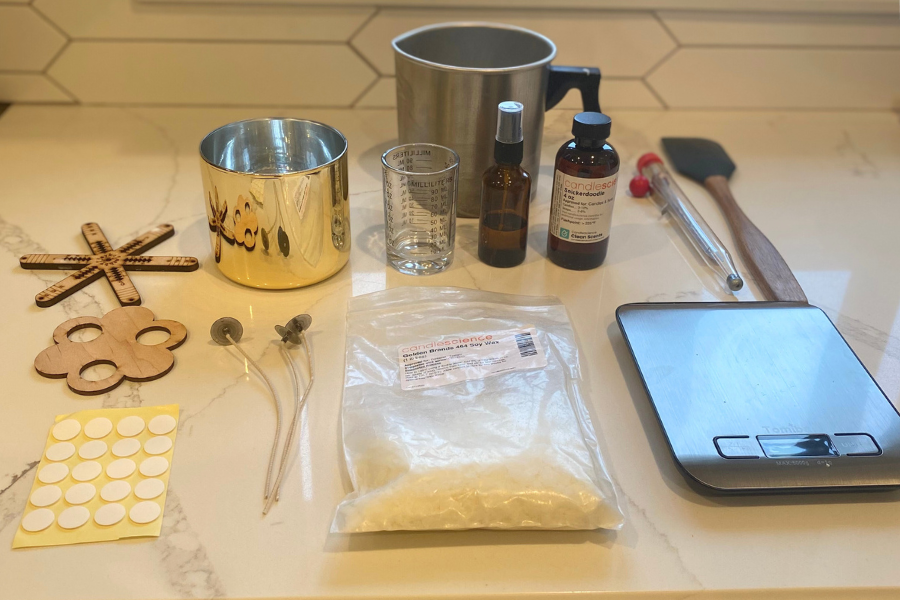
What You Will Need To Make Your Candles
- CANDY THERMOMETER
- SOY WAX FLAKES
- CANDLE WICKS
- FRAGRANCE OILS OR ESSENTIAL OILS
- CANDLE CONTAINERS
- POURING PITCHER
- WICK STICKERS
- WICK BARS
- PAPER TOWELS
- POT
- MIXING SPOON
- RUBBING ALCOHOL
- SCALE (OPTIONAL)
- OUNCE MEASURING CUP
Please note that all of these supplies can be bought in a kit from Candlescience.com. This is where I bought my initial candle making kit and learned how to make soy candles for beginners. Candlescience.com has a lot of helpful videos, FAQS, and reviews that are very helpful when you are just starting out.
HOW TO MAKE SOY CANDLES FOR BEGINNERS:
1. PREPARE TO HEAT THE WAX
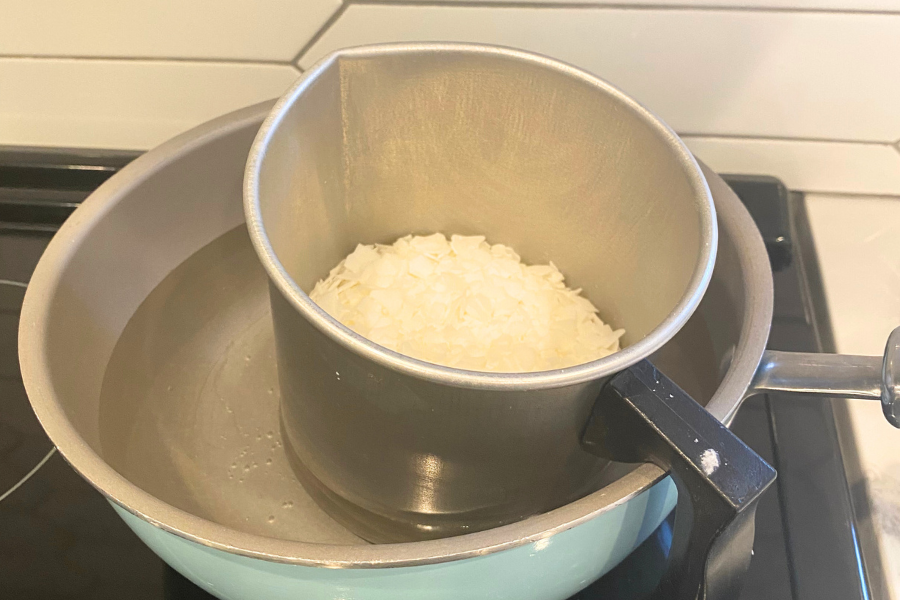
Place a medium pot on your stovetop and fill it with water about halfway.
2. ADD WAX TO POURING PITCHER
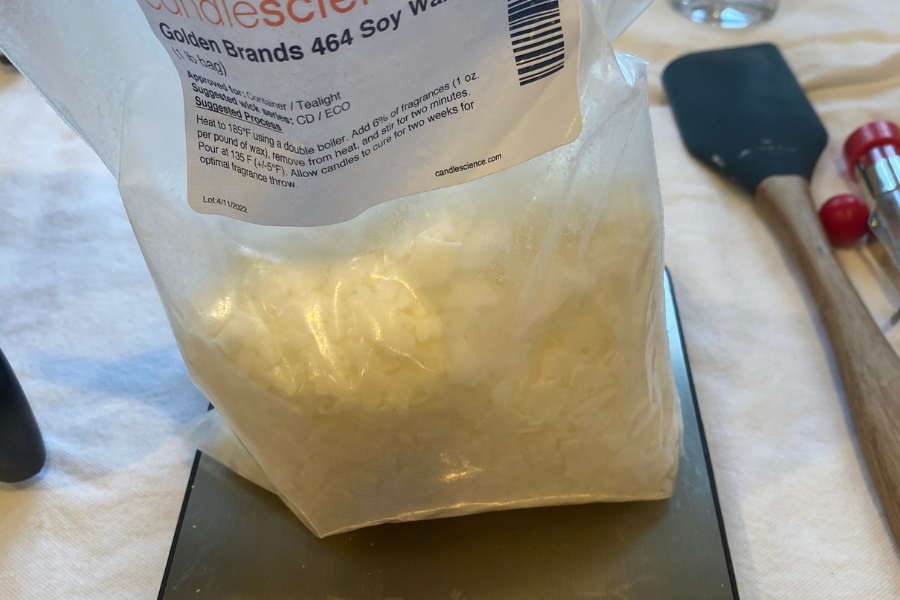
Measure out the desired amount of wax for your candle container or containers. You can measure the amount of wax you will need using a food scale or simply by using the containers packaging. It is important to measure the wax so that you have enough wax to fill your candles.
We generally follow this guide: 1 lb of soy wax will fill a 24 oz candle container or make 24 oz of wax
CHECK OUT THIS GUIDE:
Once you have the proper amount of soy wax flakes, empty the wax into your pouring pitcher in the water filled pot. This will create a double broiler that will melt your wax. Be sure to have your stove on medium to low heat.
3. PREPARE YOUR CANDLES FOR POURING
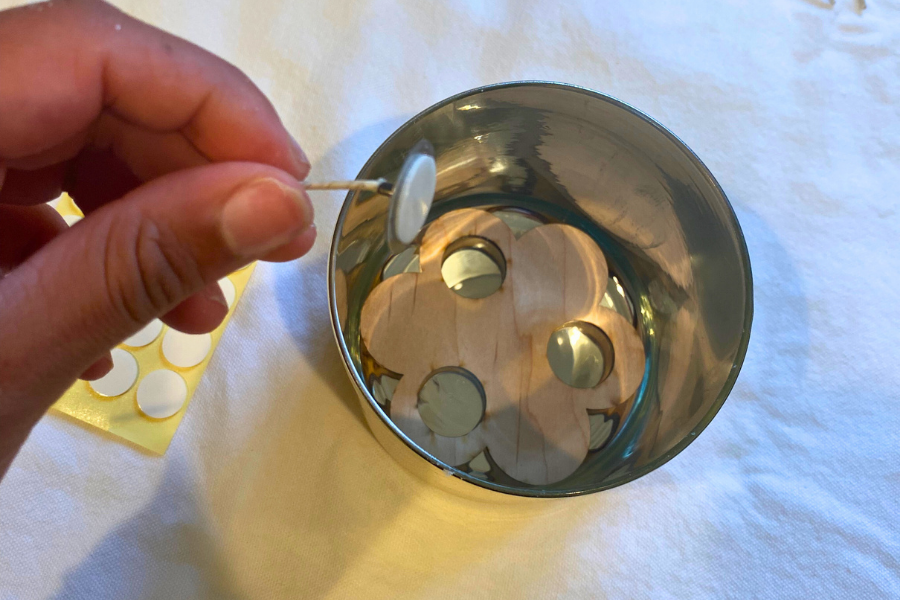
While you are waiting for the wax to melt, peel the wick stickers and stick the wicks to the bottom of the candle containers. If you plan on making a candle with more than one wick, be sure to keep the candle wicks at least 1 inch apart from one another and from the edge of the candle container.
Use this wick centering tool to be sure that your wicks are of equal distance apart.
4. STABILIZE YOUR WICK BARS
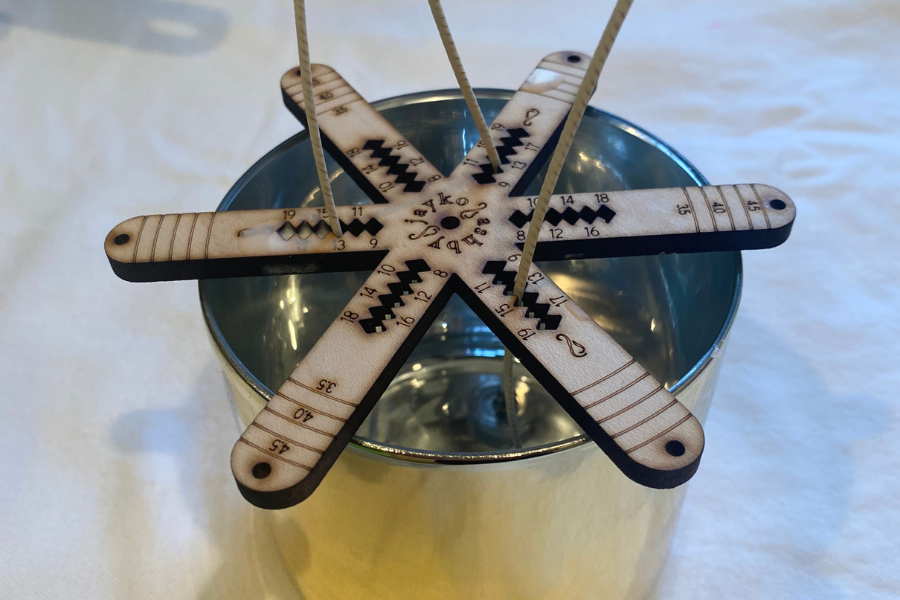
After your wicks are in place on the bottom, it is time to stabilize the tops of them. You can use wick bars, a pencil, or these custom centering tools. Be sure to pull the wicks so they aren’t too loose during the drying process. Repeat these steps on any additional containers you may have.
5. CHECK ON YOUR WAX
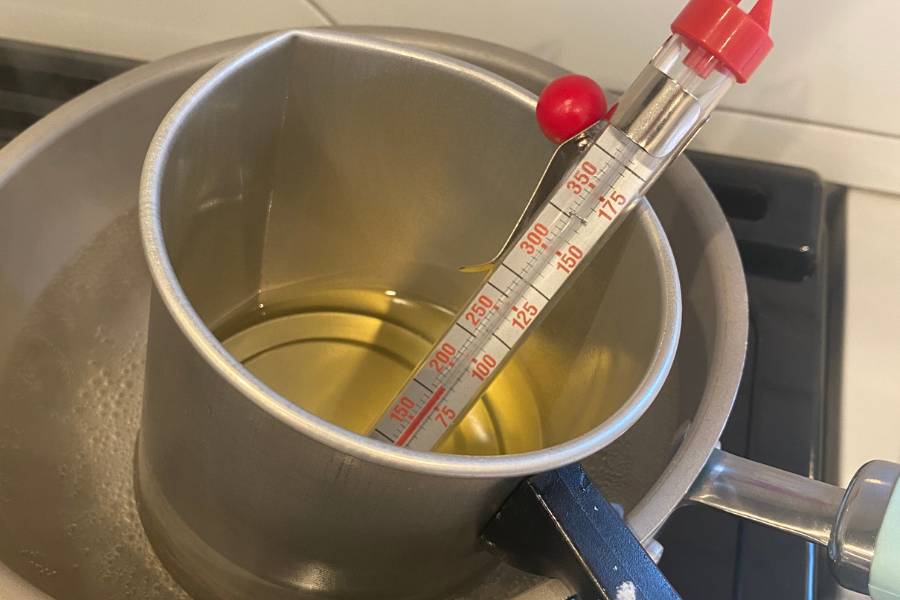
Now that your candle containers are ready for pouring, it is time to check on your wax. Be sure to slowly mix the wax so it melts faster and evenly. Get your candy thermometer handy as the wax melts. You want to monitor the wax until it melts to the melting point temperature that is recommended on the wax’s packaging. In this case, the temperature should be 185 degrees.
6. POUR IN YOUR OILS
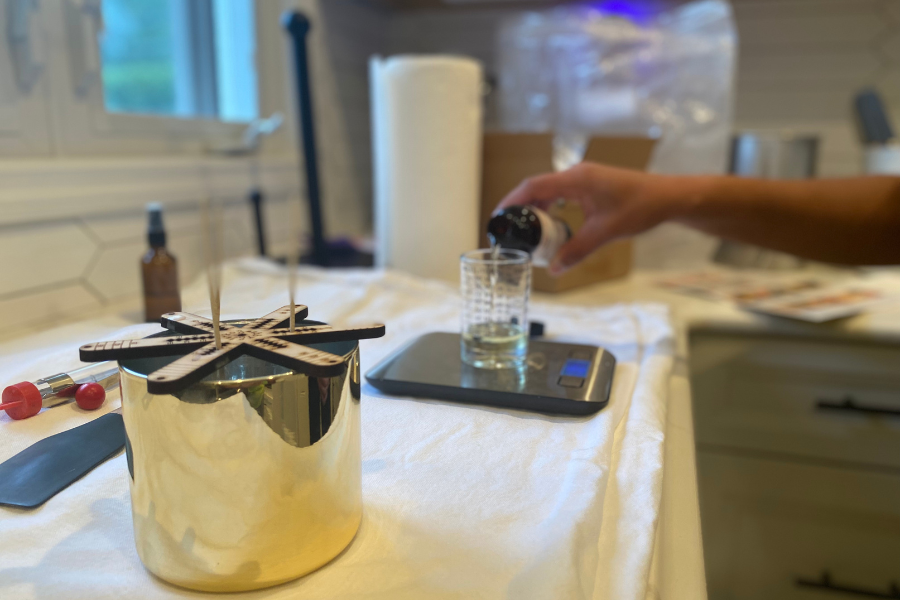
Now that your wax has melted to the ideal temperature, remove your pitcher from the heat and slowly pour in your fragrance oil or essential oils. We used Snickerdoodle fragrance oil from Candlescience (highly recommend for the fall/winter). Carefully pour the fragrance oil in and then slowly mix it for 1 minute.
TIP: Be sure to measure the amount of fragrance oil you are pouring into your wax. For 24 oz/ 1 lb of soy wax we poured in about 1 oz of fragrance oil. Be sure to follow the wax manufacturers recommendation. We have included this helpful guide if you don’t know the appropriate amount to use.
Don’t be afraid to have fun with the fragrance in your candles. Here are some easy fragrance blends that you can make with essential oils!
7. ALLOW THE WAX TO COOL
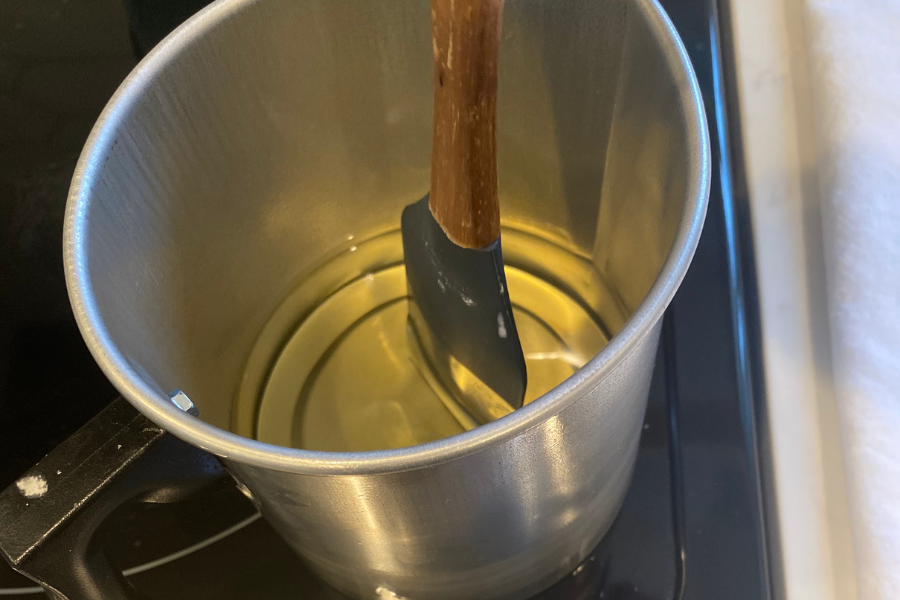
You might be tempted to pour the wax right into your container but you need to wait for temperature of the wax to reach 135 degrees before pouring it into its container. This is crucial to how the final candle burns.
8. POUR AND SET YOUR WICKS
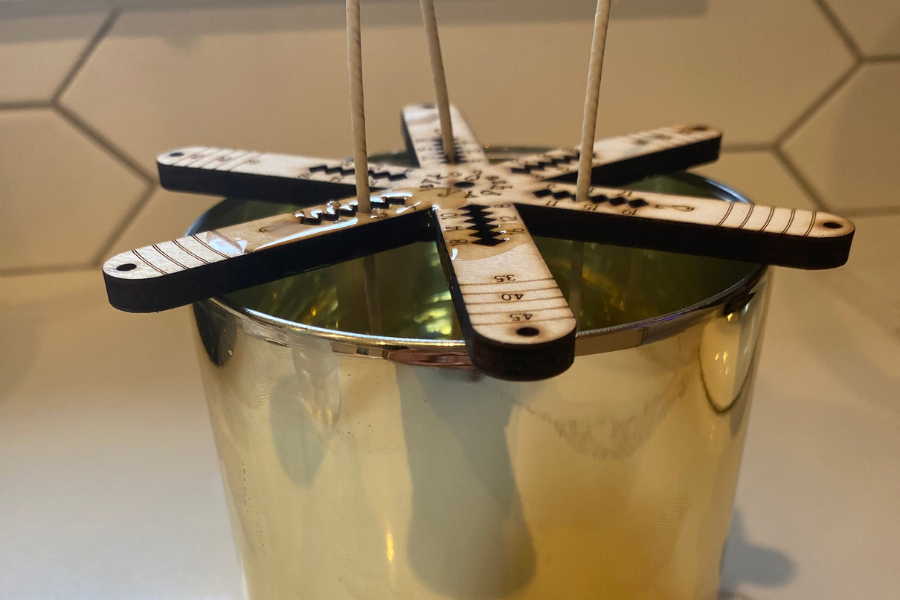
Now that your wax has cooled down to 135 degrees, you can go ahead and pour your wax into your candles container. Pour your wax to about 1/4th an inch from the top.
Once the wax is poured, secure your wicks with your wick bar or wick centering tool.
9. ALLOW YOUR CANDLES TO COOL AND TRIM WICKS
Once you have your wicks centered, leave the candle to sit overnight without disturbing. Once the candle is completely dry, you can trim the wicks with a scissor to about 1/4 of an inch.
10. ENJOY YOUR CANDLE
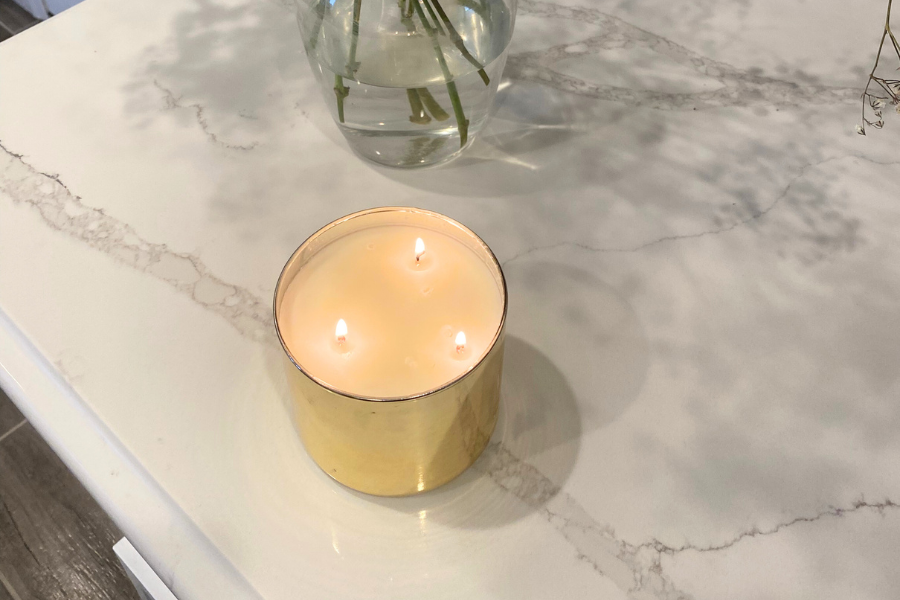
It is recommended you wait at least 24 hours before your burn the candle but we suggest 1 week for it to fully cure. Be sure to trim the wicks a little before every use.
CHECK OUT SOME OTHER ITEMS YOU MAY NEED:
POURING PITCHER:

CANDLE WICK STICKERS

WARNING LABELS:

BE SURE TO HAVE LABELS ON YOUR CANDLES IF YOU WANT TO SELL THEM OR GIFT THEM
Please keep in mind that candle making is not always perfect. Every batch can come out a little different so don’t be frustrated with yourself in the beginning. Take notes on each batch so that you can improve your candles each time if you are learning how to make soy candles to sell. Testing is a key part of the candle making process! Don’t forget to have fun with candle making by trying different container shapes, fragrances, labels, and colored waxes!
This blog post was all about how to make soy candles at home.
CHECK OUT OUR SIMILAR BLOG POSTS:
- 17 Best DIY Gifts to Delight Your Loved Ones This Holiday Season
- How to Make a Simple Bow with Ribbon
- DIY Raised Planter Box With Legs

