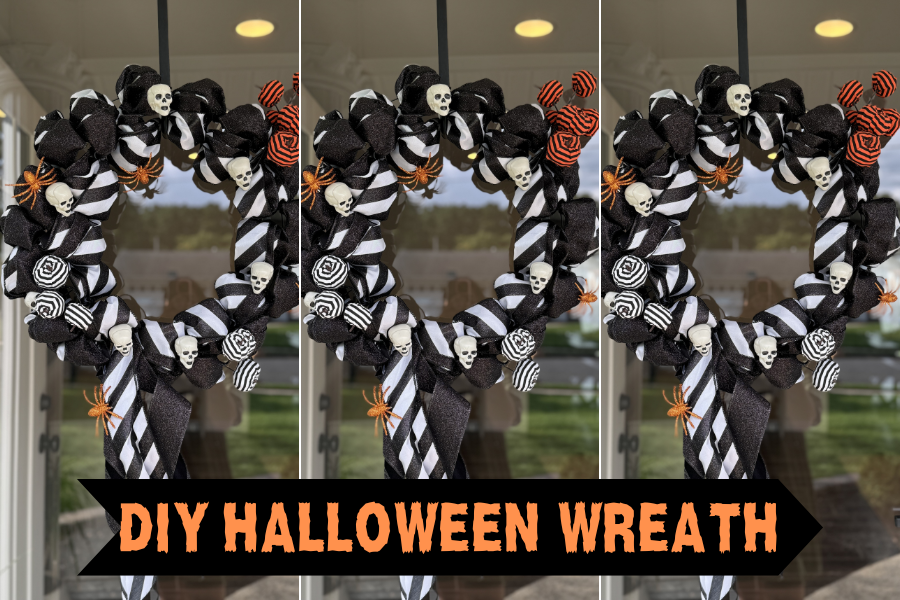
Spooky season is quickly approaching and there is no better way to get ready for Halloween than with a DIY Halloween wreath for your front door! Whether you have a specific theme in mind for your Halloween decor or you want to make a custom wreath for your upcoming Halloween party, this is an easy DIY wreath that you can easily recreate.
I know how difficult it is to find the perfect wreath for your front door that matches your home decor and also is affordable. I love this method of making a wreath with ribbon for any holiday, especially Halloween! Typically, there aren’t too many options for Halloween wreaths in the store so why not create your own scary wreath to welcome those trick or treaters into your home!
In this blog post, we will show you how to make this DIY Halloween wreath for your front door! This is the perfect do it yourself wreath if you are on a budget and want to create a unique wreath that is customized to your liking. Whether you are looking for a fun craft activity to do with the family or you are interested in creating a Halloween wreath to sell, follow our step by step instructions and watch your wreath come to life!
This blog post is all about DIY Halloween wreath.
*Please note as an Amazon associate I earn from qualifying purchases.
DIY Halloween Ribbon Wreath
What you will need for the DIY Halloween Wreath
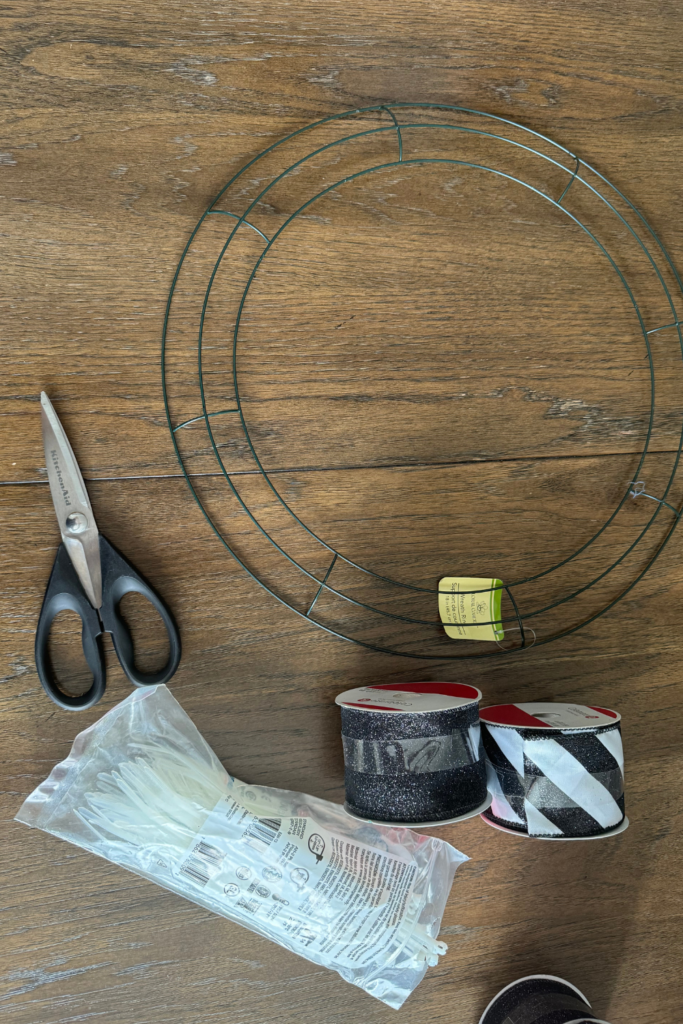
- SCISSORS
- 2.5 INCH WIRED RIBBON (4 ROLLS OF AT LEAST 2 DIFFERENT PATTERNS)
- WREATH RING
- ZIP TIES
- HOT GLUE GUN
- MINI SKULLS
- HALLOWEEN PICKS
RECREATE THE WREATH FROM AMAZON:
How to Make Your DIY Halloween Wreath
STEP ONE
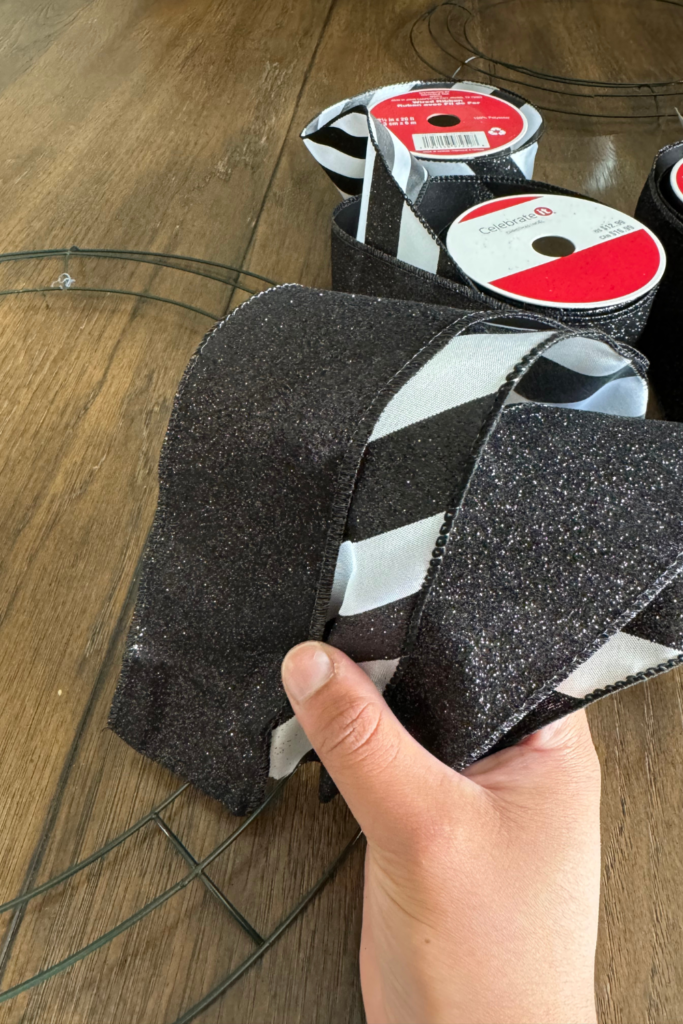
First, stack your 4 different ribbons on top of one another and pinch together.
STEP TWO
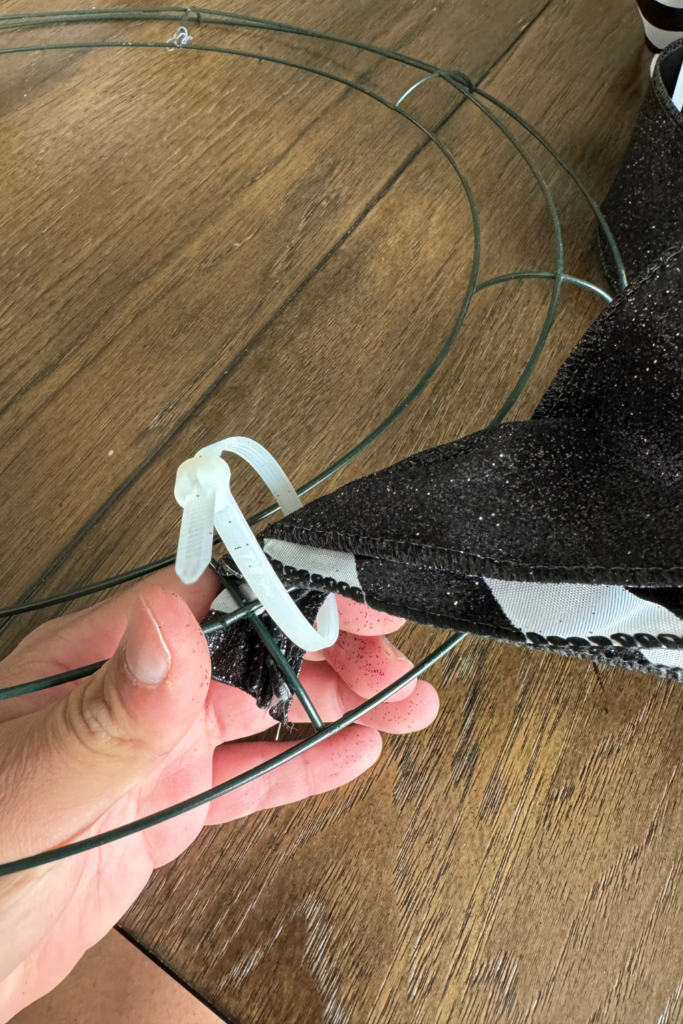
Next, pinch the ribbon together and twist them around the middle wire of your wreath ring. Take a zip tie and fasten it around the pinched ribbon until it is tight enough where it won’t come undone. Rotate the zip tie so that the long part of the zip tie is behind your ribbon and in the back of the wreath.
STEP THREE
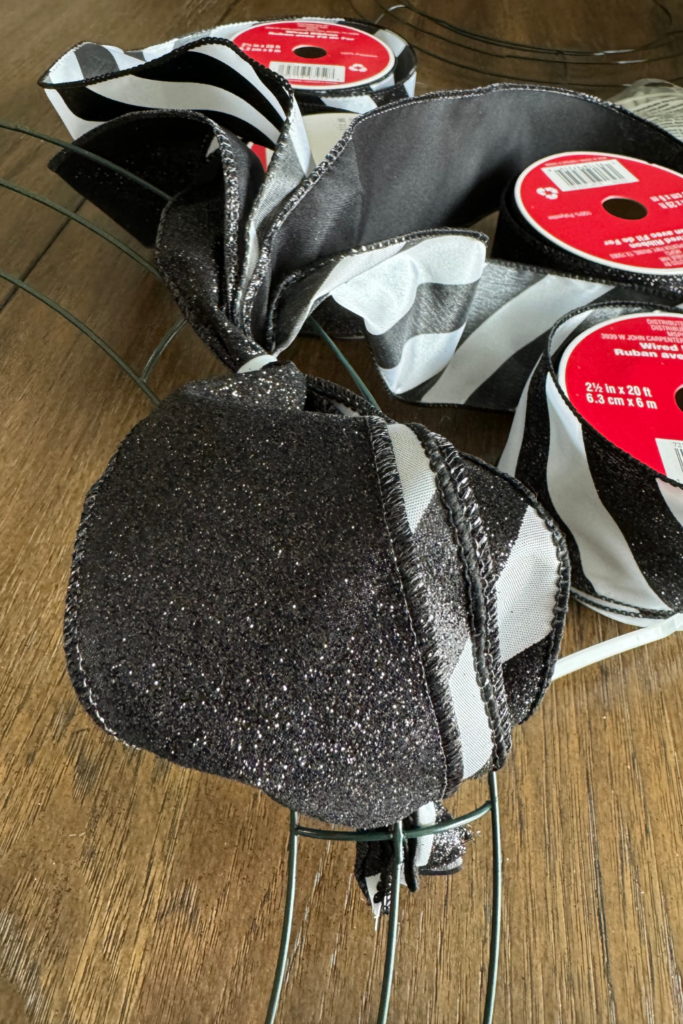
Create a loop of the layered ribbon and pinch it. Repeat the previous step with the zip tie and continue repeating this process throughout the entire wreath ring. Don’t stress about making the loops the same exact size, you can open them up later to create fullness in your wreath. Be sure to create at least 4 loops per section of the wreath ring to ensure your wreath has enough volume.
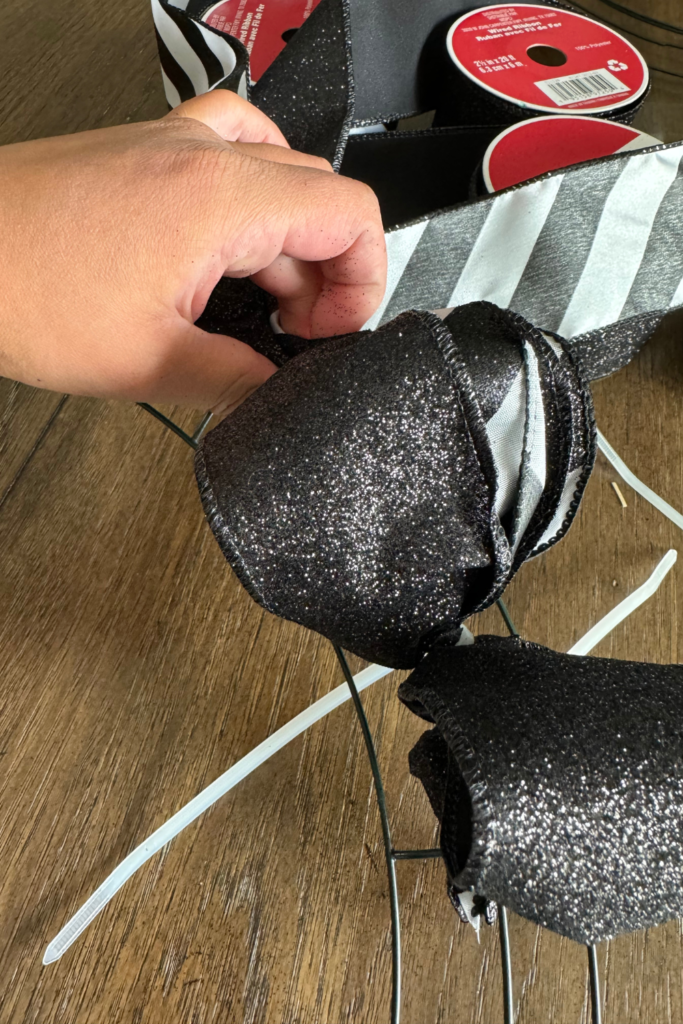
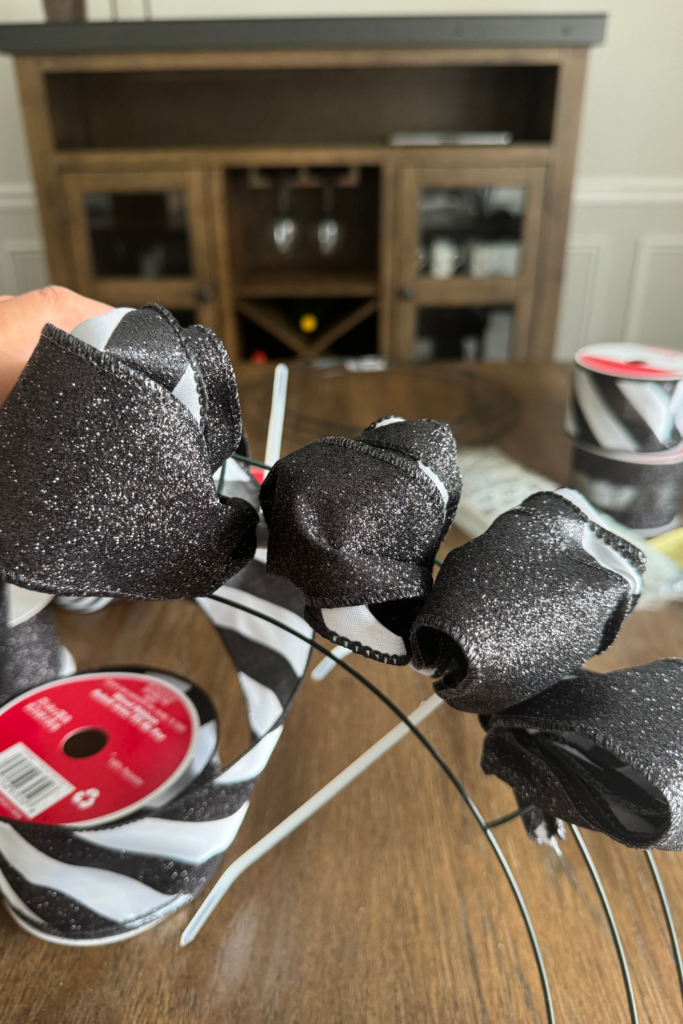
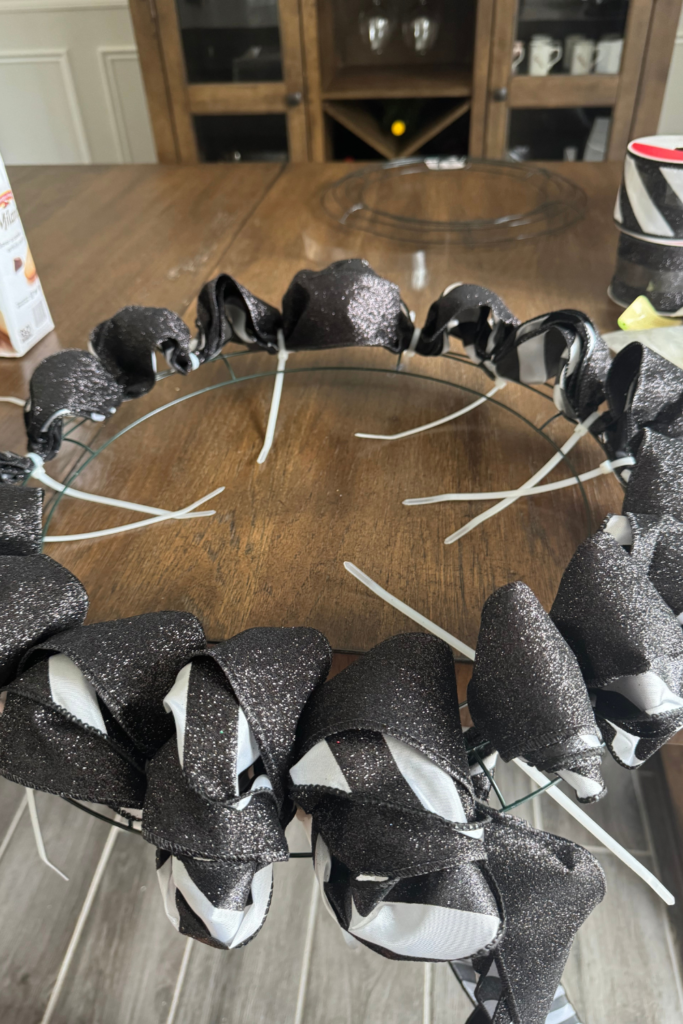
This should be what it looks like once you have completed this process on the entire wreath ring.
STEP 4
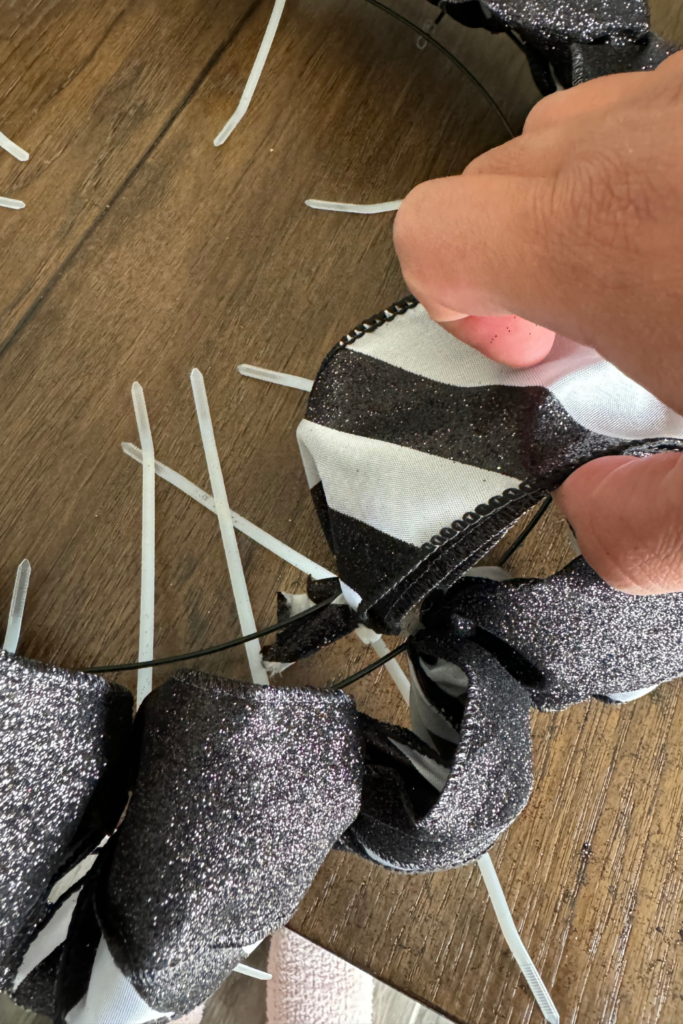
Now that you have created loops with the zip ties on the entire wreath, repeat the process from the beginning but on the inner wire of your wreath ring. We suggest selecting a different patterned ribbon as the top layer of your wreath to add dimension to your wreath’s design.
STEP 5
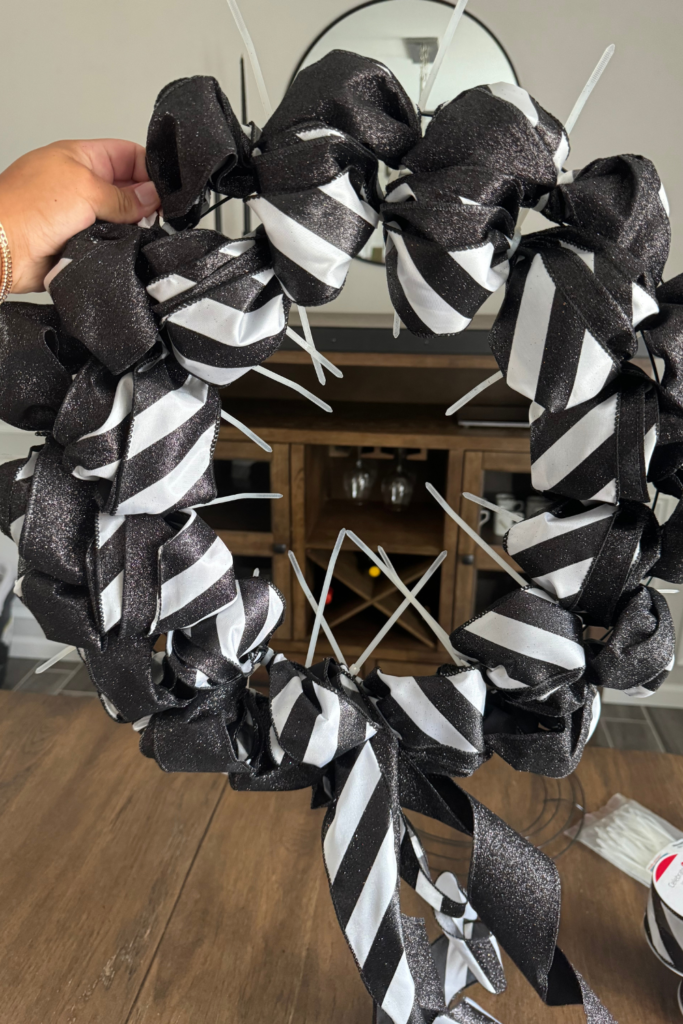
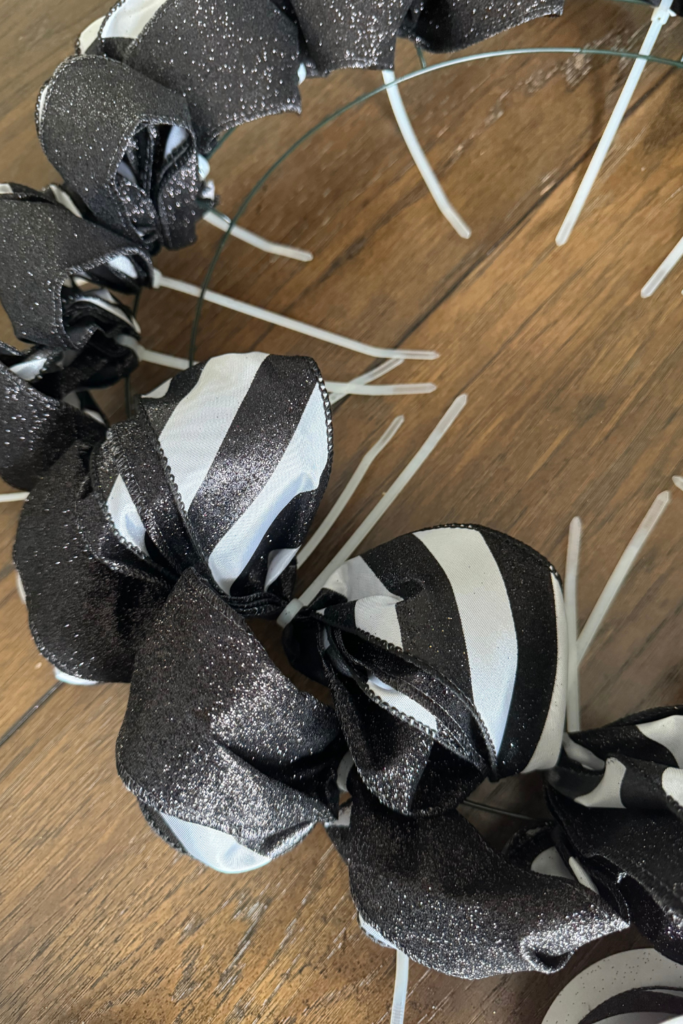
Once you have filled the entire wreath with loops, this is what you should have. I chose to leave the ribbon hanging from the bottom of my wreath but you can cut any extra ribbon and tuck it in the back of your wreath. Be sure to spread open your loops to create fullness in your wreath ring and cover any gaps.
STEP 6
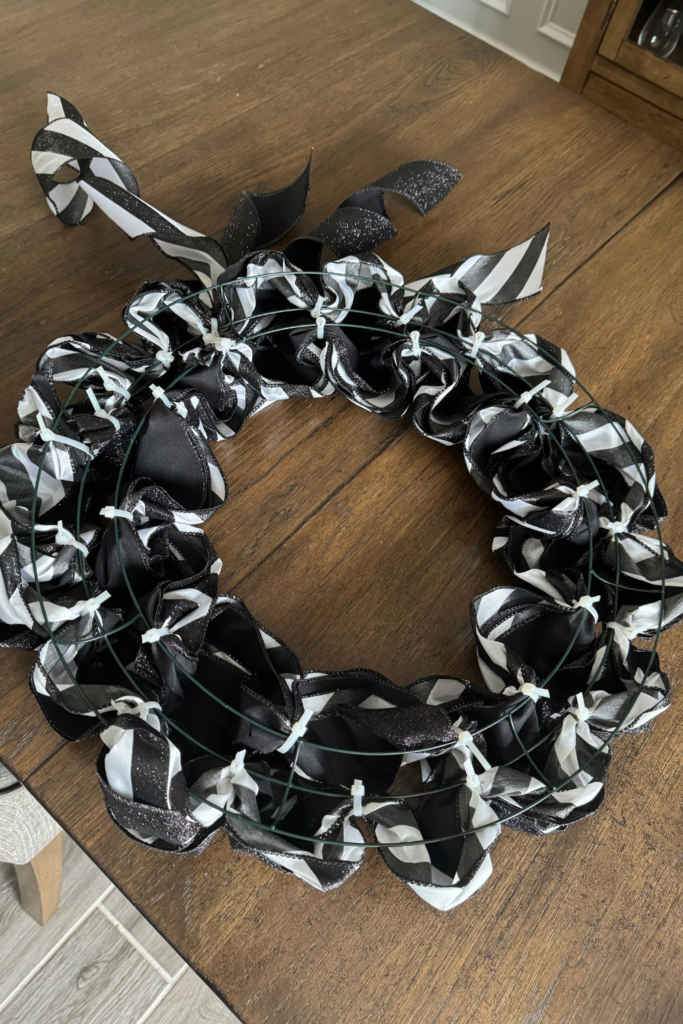
Flip your wreath over and cut the extra part of the zip ties off.
STEP 7
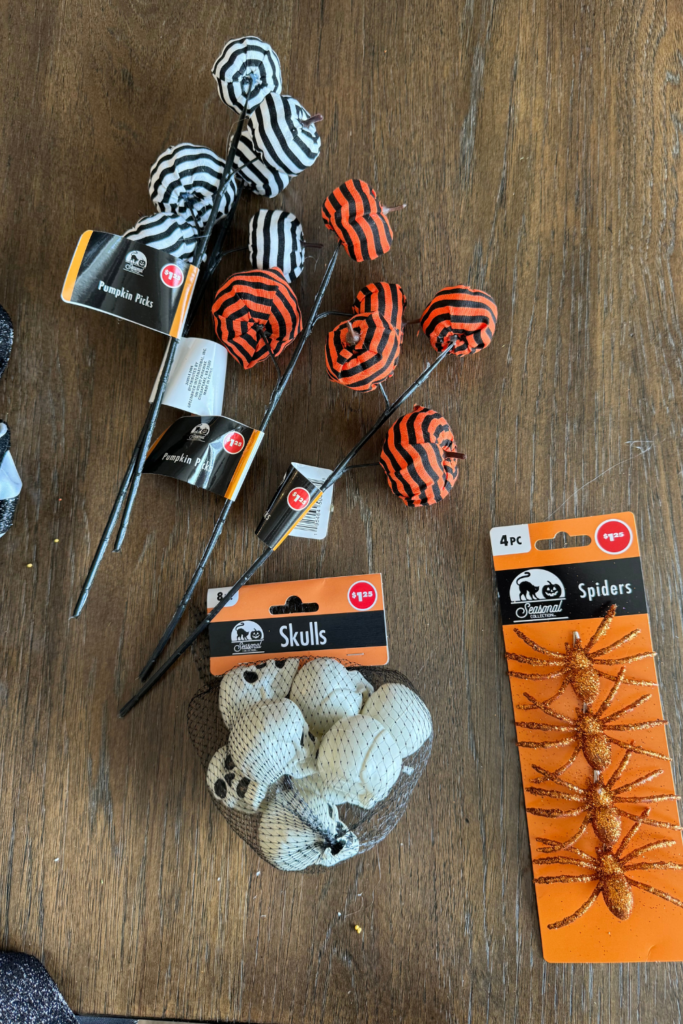
Now it is time to decorate! I chose to add some glitter spiders, pumpkin picks and skulls from the Dollar Tree. Use these decorative items to fill in any gaps in your wreath. Attach these decorative items with zip ties or a hot glue gun.
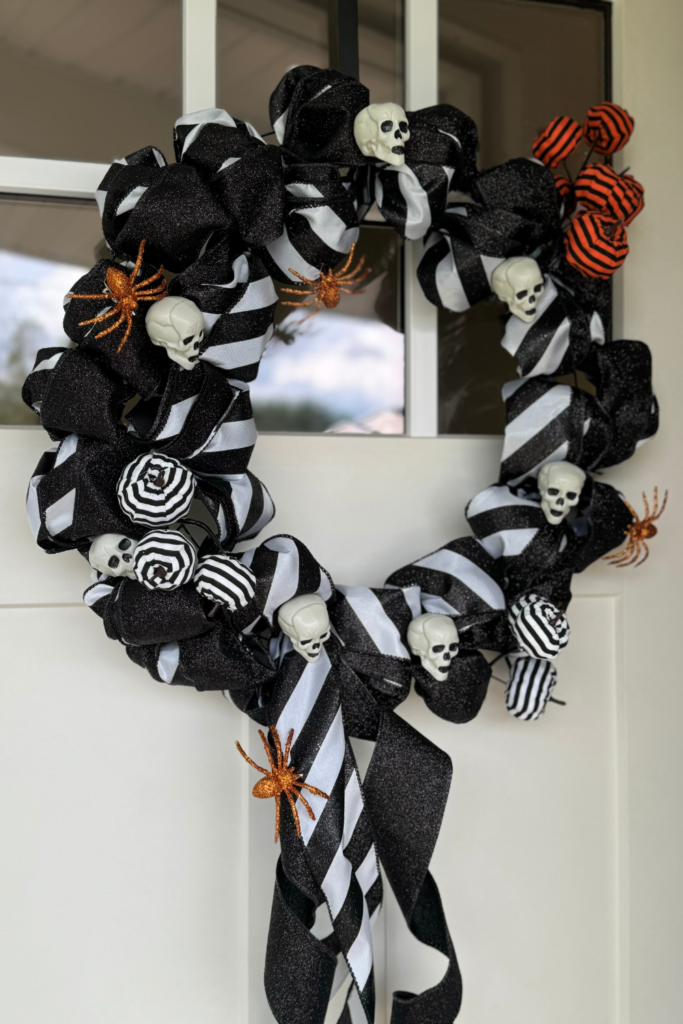
This is the final product! This is such an easy way to create your own wreath for Halloween for around $10! This technique works great for any holiday and is a fun way to show off your creativity! Add spooky lights, skeleton bones and more to spook your trick or treaters this Fall season! Happy Halloween!
This blog post is all about DIY Halloween wreath.
CHECK OUT SIMILAR BLOG POSTS:
- 17 DIY Halloween Decorations You Need To Know About
- 7 Fall Home Decor Trends for 2023
- Crafting Cozy: 23 Adorable DIY Fall Home Decor Ideas

