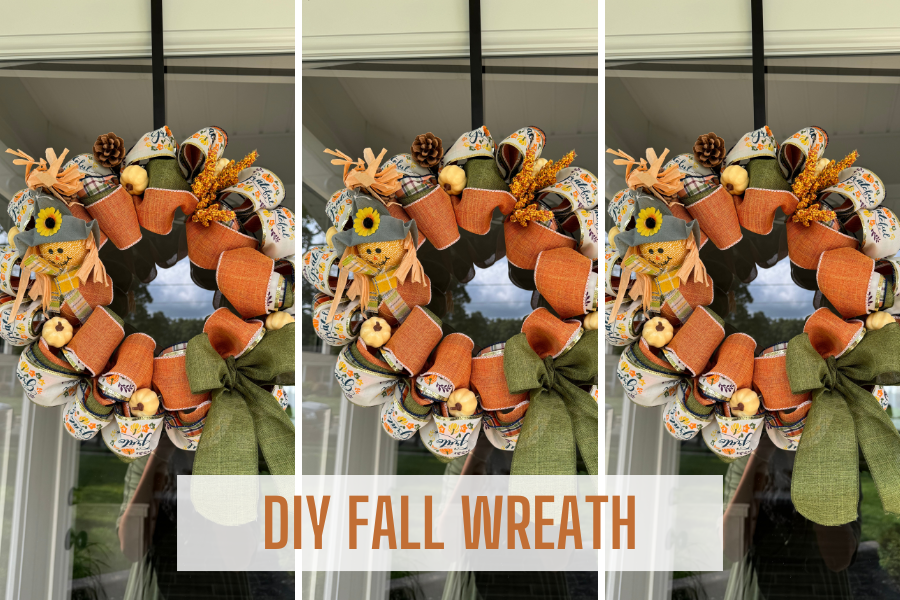
As the leaves change and the air turns crisp, it’s the perfect time to bring the beauty of autumn to your front door with a DIY fall wreath. Making your own wreath is a fun and creative way to celebrate the best season, and it’s easier than you might think! Here’s a step-by-step guide to help you craft a stunning fall wreath that will add a warm and inviting touch to your home.
I can totally understand how difficult it can be to find the perfect Fall wreath for your front door while sticking to a budget. Wreaths can cost anywhere from $40-$100 depending on what size and design you want. This year, I decided that I would save money and come up with my very own do it yourself wreath from the Dollar tree and I am here to share with you exactly how you can recreate it. After buying all of the materials, this wreath cost me around $10 and matches perfectly with my outdoor Fall decorations!
In this blog post we will show you how to make a DIY Fall wreath from the Dollar Tree. Whether you are looking to create a Fall wreath for your front door or are interested in making a craft to sell, this technique is easy and affordable! Feel free to recreate this DIY Fall wreath with ribbon for other holidays and celebrations!
This blog post is all about DIY Fall wreath.
*Please note as an Amazon associate I earn from qualifying purchases.
DIY Fall Wreath Dollar Tree
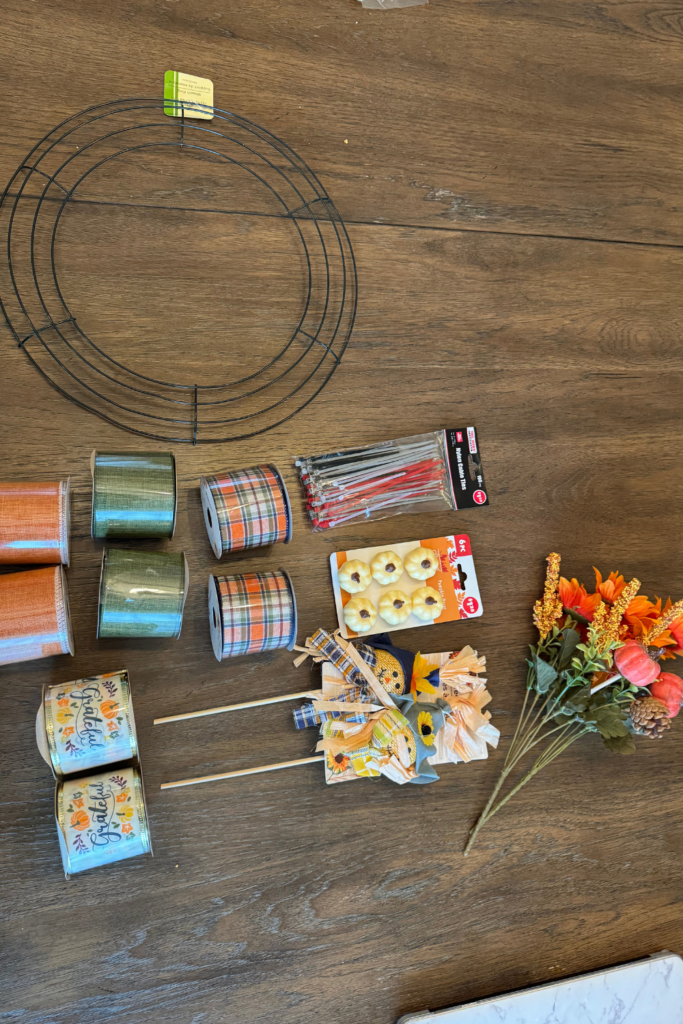
WHAT YOU WILL NEED:
- SCISSORS
- 2.5 INCH WIRED RIBBON (4 ROLLS OF AT LEAST 2 DIFFERENT PATTERNS)
- WREATH RING (14 IN)
- ZIP TIES
- HOT GLUE GUN
- PUMPKIN PICKS
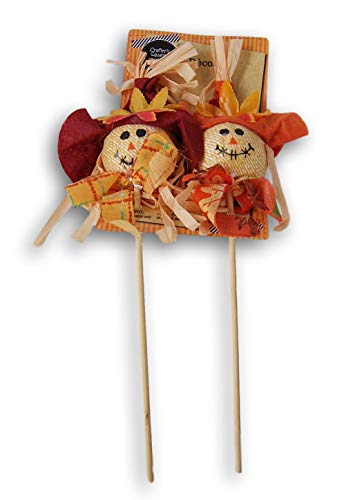
- MINI SCARECROWS
RECREATE THE LOOK FROM AMAZON:


How to Make Your DIY Fall Wreath
STEP ONE
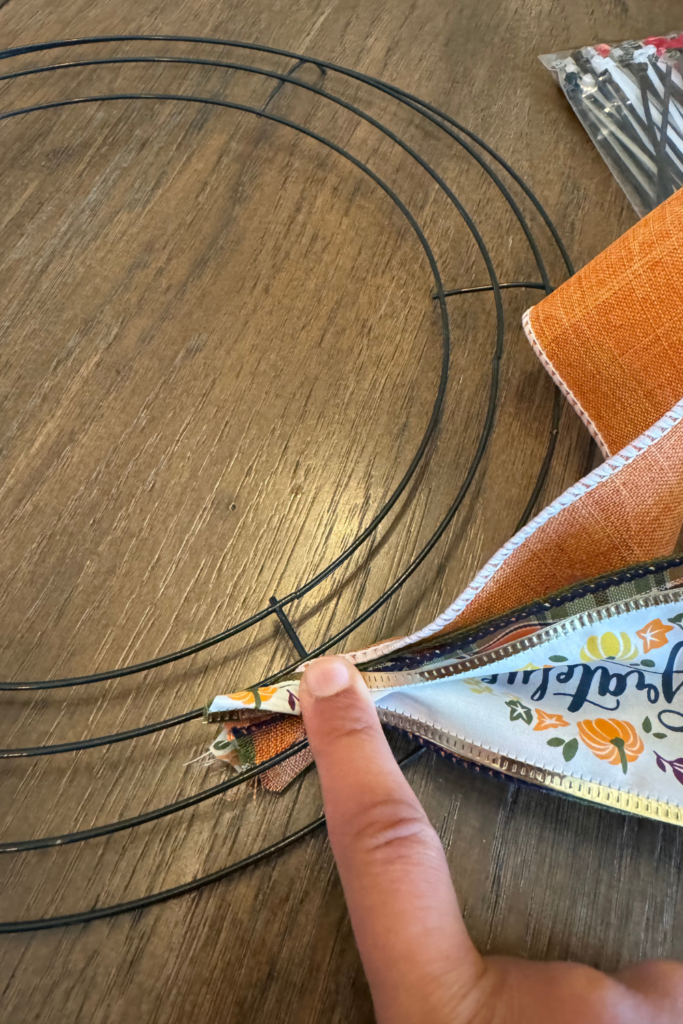
First, stack your 4 different ribbons on top of one another and pinch/twist them together.
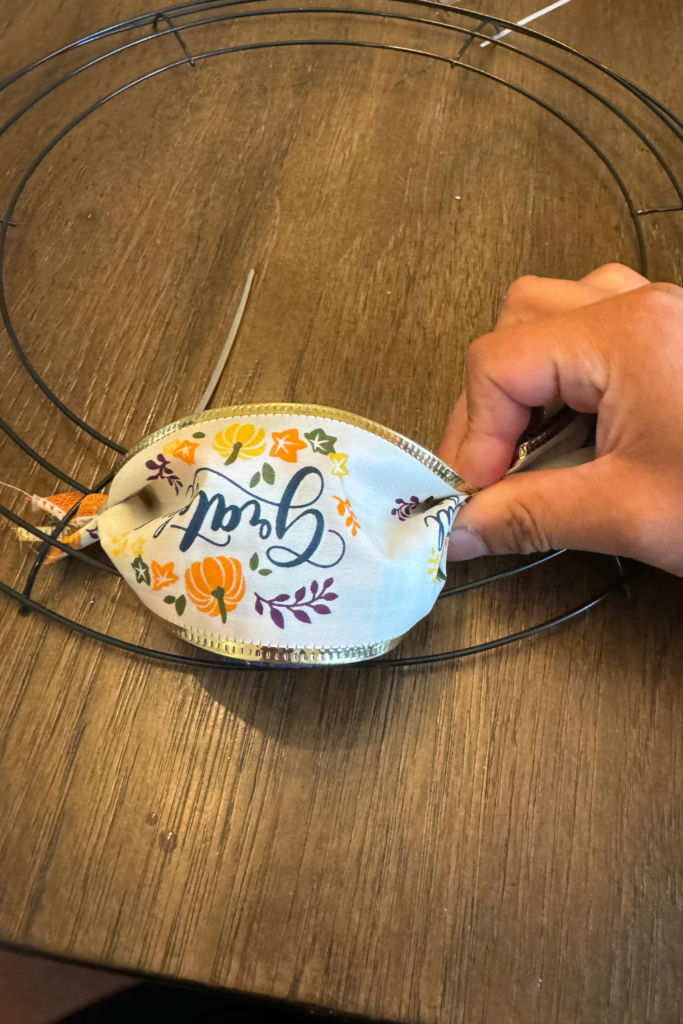
STEP TWO

Next, pinch the ribbon together and twist them around the second outer wire of your wreath ring. Take a zip tie and fasten it around the pinched ribbon until it is tight enough where it won’t come undone. Rotate the zip tie so that the long part of the zip tie is behind your ribbon and in the back of the wreath.
STEP THREE
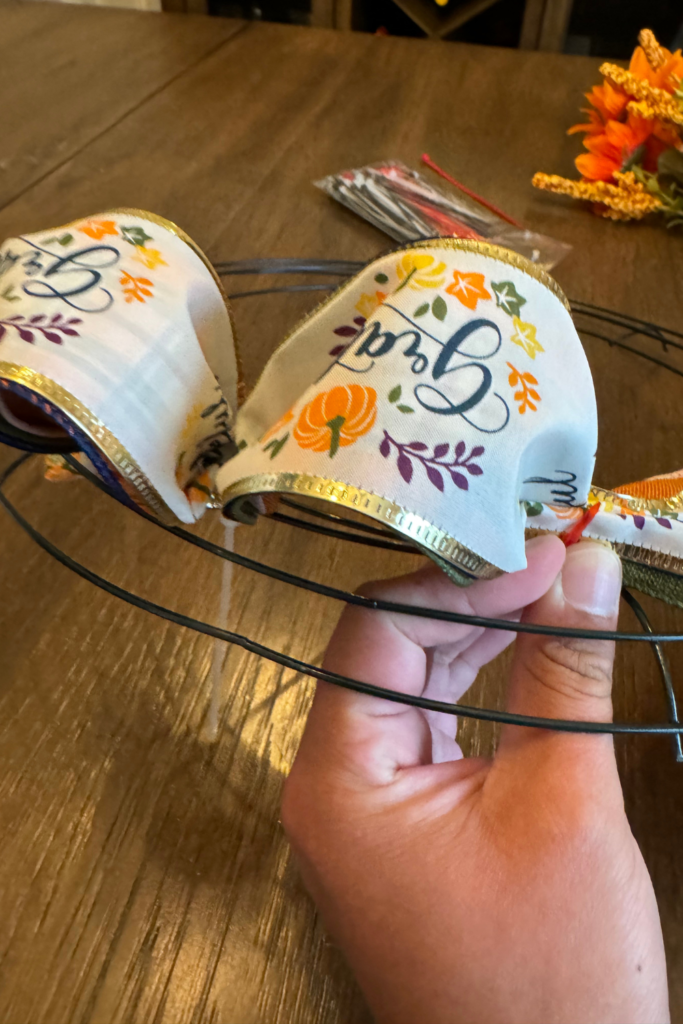
Create a loop of the layered ribbon and pinch it. Repeat the previous step with the zip tie and continue repeating this process throughout the entire wreath ring.
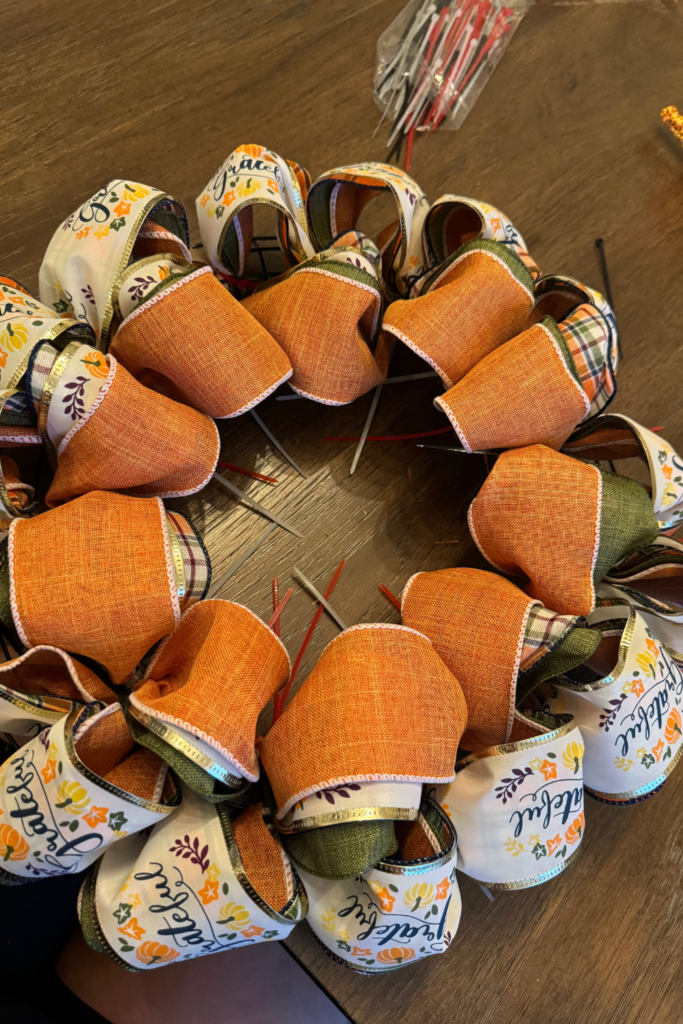
Don’t stress about making the loops the same exact size, you can open them up later to create fullness in your wreath. Be sure to create at least 3 loops per section of the wreath ring to ensure your wreath has enough volume.
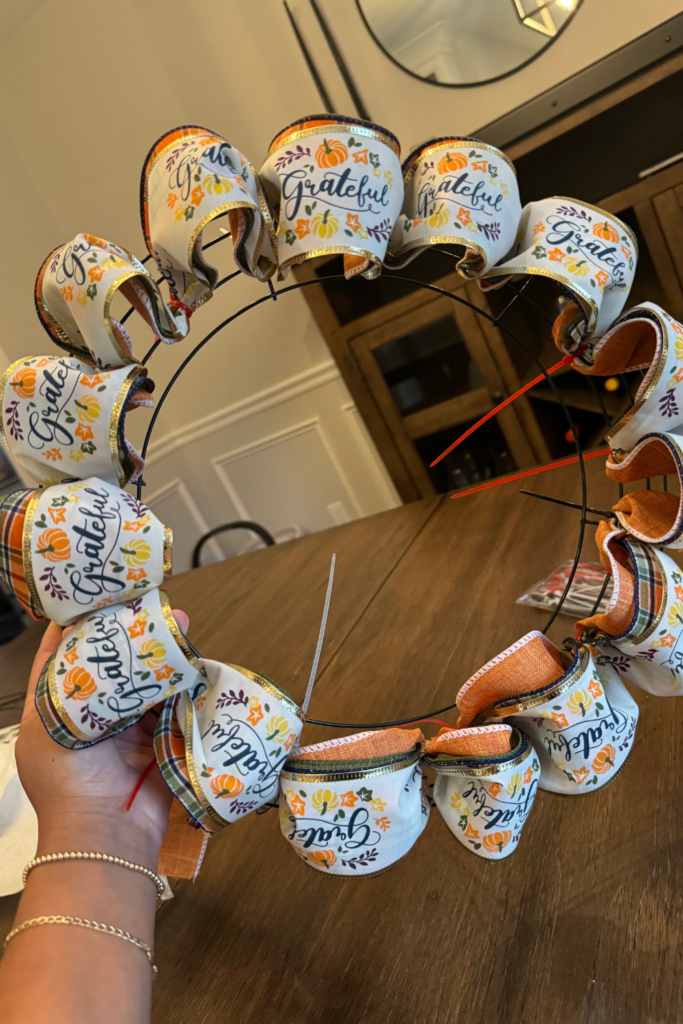
This should be what it looks like once you have completed this process throughout the entire wreath ring.
STEP FOUR
Now that you have created loops with the zip ties on the entire wreath, repeat the process from the beginning but on the inner wire of your wreath ring.
We suggest selecting a different patterned ribbon as the top layer of your wreath to add dimension to your wreath’s design.
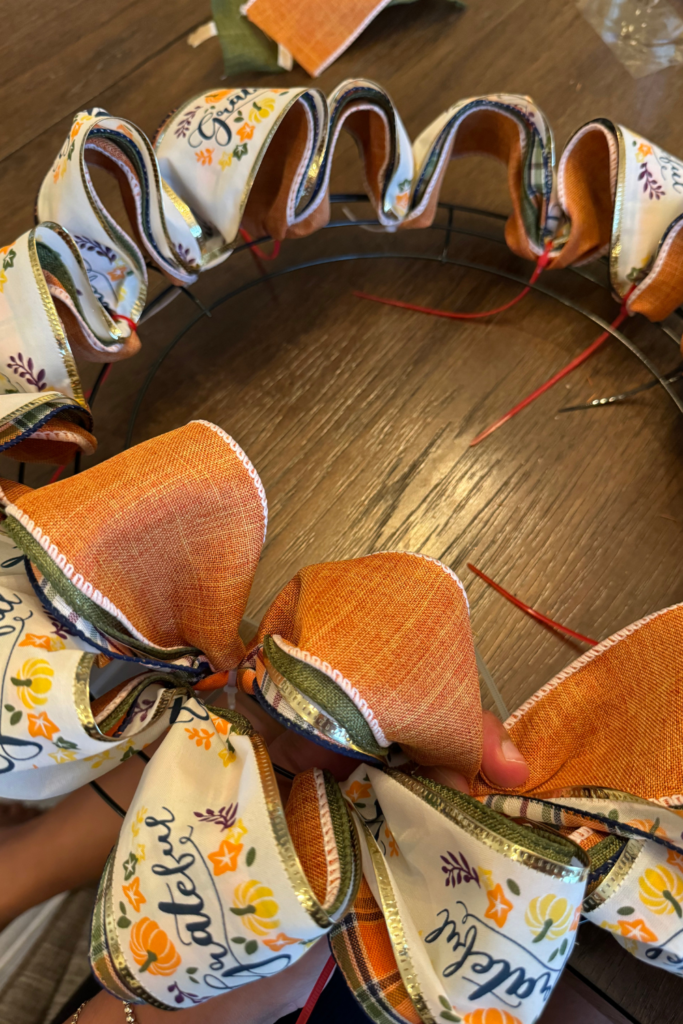
STEP FIVE
Once you have filled the entire wreath with loops, this is what you should have. Be sure to spread open your loops to create fullness in your wreath ring and cover any gaps.
STEP SIX
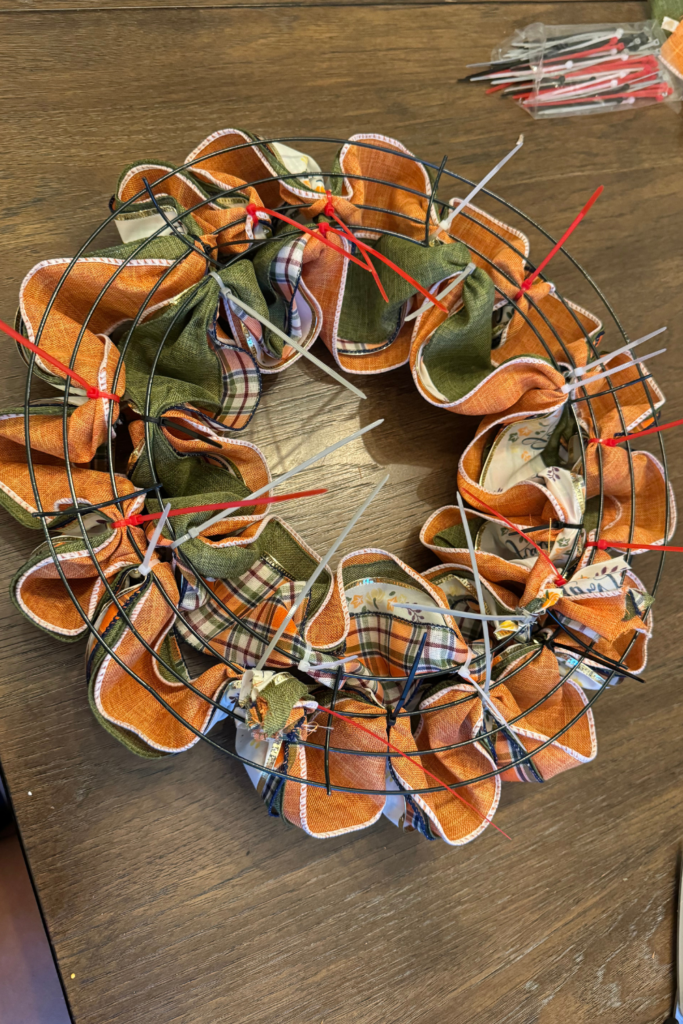
Flip your wreath over and cut the extra part of the zip ties off.
STEP SEVEN
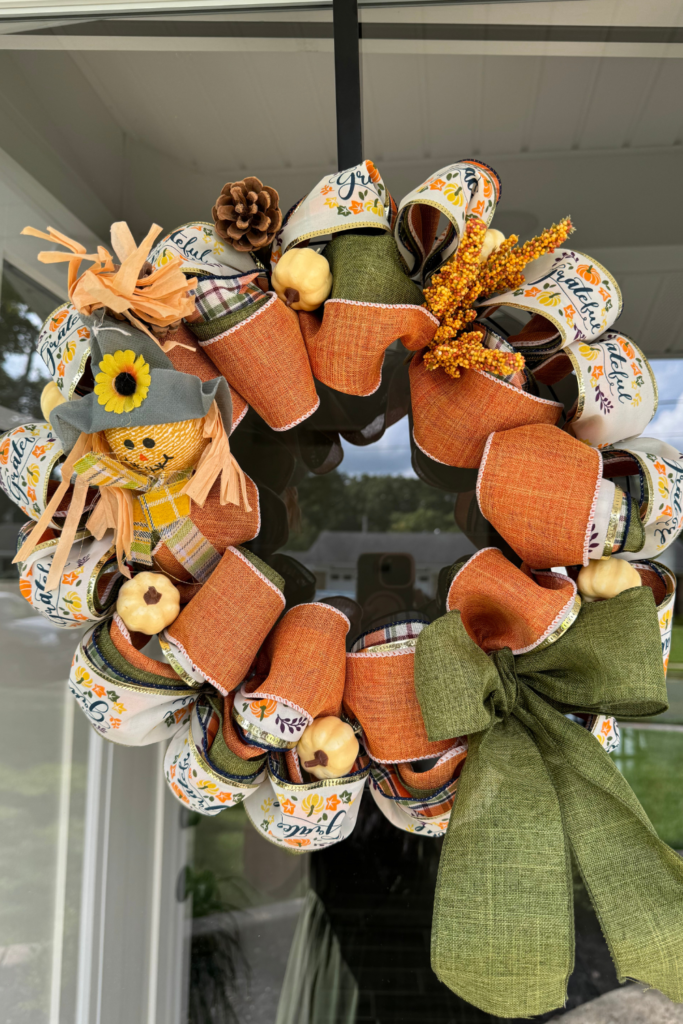
Now, it is time to decorate! I chose to add some acorns, pumpkin picks and mini scarecrows from the Dollar Tree. Use these decorative items to fill in any gaps in your wreath. Another great way to hide any gaps or imperfections is by creating a bow made from the same ribbon. Attach these decorative items with zip ties or a hot glue gun.
CLICK HERE TO SEE HOW TO MAKE A BOW WITH RIBBON
Tips for creating your fall wreath:
- Mix Textures: Combine different textures into your wreath’s design like smooth pumpkins, rough pinecones, and soft leaves for a more dynamic look.
- Vary Sizes: Use decorations of various sizes to create visual interest and depth.
- Stick to a Color Scheme: Choose a color palette that matches your home decor.
- Personalize: Add unique touches like a small chalkboard sign with a seasonal message or your family’s initial.
This is the final product! This is such an easy way to create your own wreath for Fall for around $10! This technique works great for any season and is a fun way to show off your creativity!
This blog post was all about DIY Fall wreath.
CHECK OUT OUR SIMILAR POSTS:
- Easy and Affordable DIY Halloween Wreath
- 21 Thanksgiving Home Decor Ideas You Need To Know About
- Crafting Cozy: 23 Adorable DIY Fall Home Decor Ideas