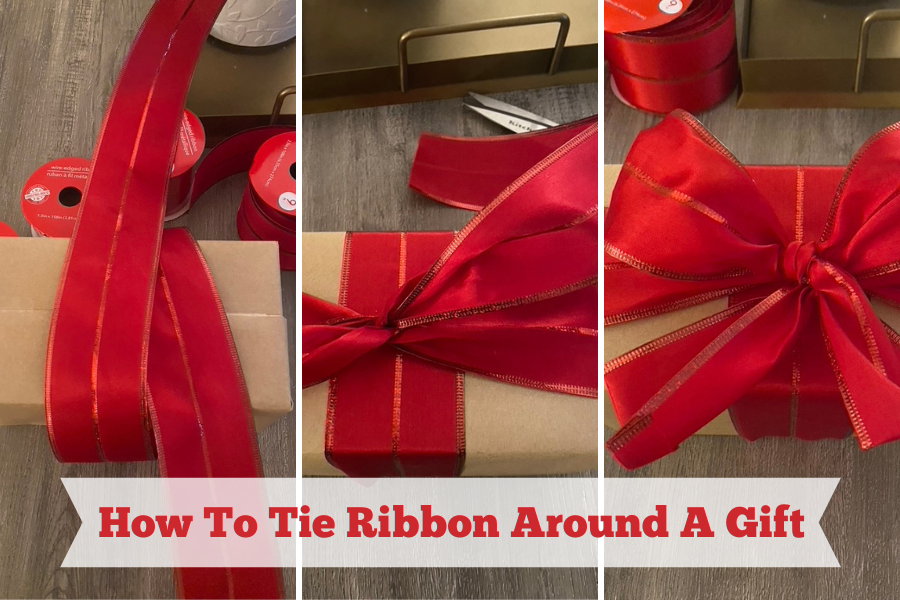
How to tie ribbon around a gift can seem like a challenge and almost too hard that we avoid doing it to our gifts. So why not learn exactly how to tie a ribbon so that your gifts can look beautiful under the Christmas tree this year! Wrapping a gift with a beautifully tied ribbon adds that perfect finishing touch and makes your present feel extra special for your loved one. Whether you’re wrapping gifts for the holidays, birthdays, or any other occasion, learning the art of tying a ribbon can make all the difference.
As someone who could never understand how to even tie a bow or even wrap a gift, I can understand how difficult it is to figure out how to tie ribbon around a gift. I have discovered an easy method that will make your gifts look like they were wrapped by a pro and I am here to share the method with you.
In this blog post, we will show you how to tie ribbon around a gift box. Whether you are looking for ways to tie gift ribbon or ways to tie ribbon around a box, we will show you an easy way to tie ribbon for your next gift! Get ready to have the most beautiful gifts this holiday season or for that special occasion!
This blog post is all about how to tie ribbon around a gift.
*Please note as an Amazon associate I earn from qualifying purchases.
How to tie ribbon around a gift box
Follow this step-by-step guide to learn how to tie ribbon around a gift like a pro!
WHAT YOU WILL NEED:
- Wrapping paper of your choice
- Scissors
- Ribbon of your choice
- Tape
SHOP THE LOOK FROM AMAZON:
Choose the Right Ribbon
Before you start, select the right ribbon for your gift. Keep in mind the size of the gift and the overall look you are going for. Here are a few popular types of ribbon:
- Satin Ribbon: Soft and elegant, perfect for special occasions like weddings and anniversaries.
- Grosgrain Ribbon: Sturdy and textured perfect for a rustic look.
- Organza Ribbon: Sheer and delicate, great for adding a touch of sophistication.
- Velvet Ribbon: Luxurious and rich, perfect for winter holidays and opulent gifts.
Make sure your ribbon is long enough to wrap around the gift, with extra length to tie a bow or other decorative knot on top.
Step 1: Prepare the Gift
Wrap your gift in the wrapping paper of your choice, making sure that the corners are folded neatly and taped nicely.
If you’re working with a box that has an unusual shape, make sure it’s evenly wrapped and that the paper is smooth with no wrinkles. It is important to wrap the gift nicely so that the ribbon looks nice too!
WATCH HOW TO WRAP A GIFT BOX:
TIP: Place your gift into a box that is shaped to your liking if your box is perfect! We save old Amazon boxes and reuse those!
Step 2: Measure and Cut the Ribbon
Next, make sure that you have enough ribbon to work with. You can do this by measuring a length of ribbon that is about three to four times the width of your gift.
This will give you enough length to wrap around the package and tie a bow. Cut the ribbon at an angle to prevent it from fraying and to give you a polished look.
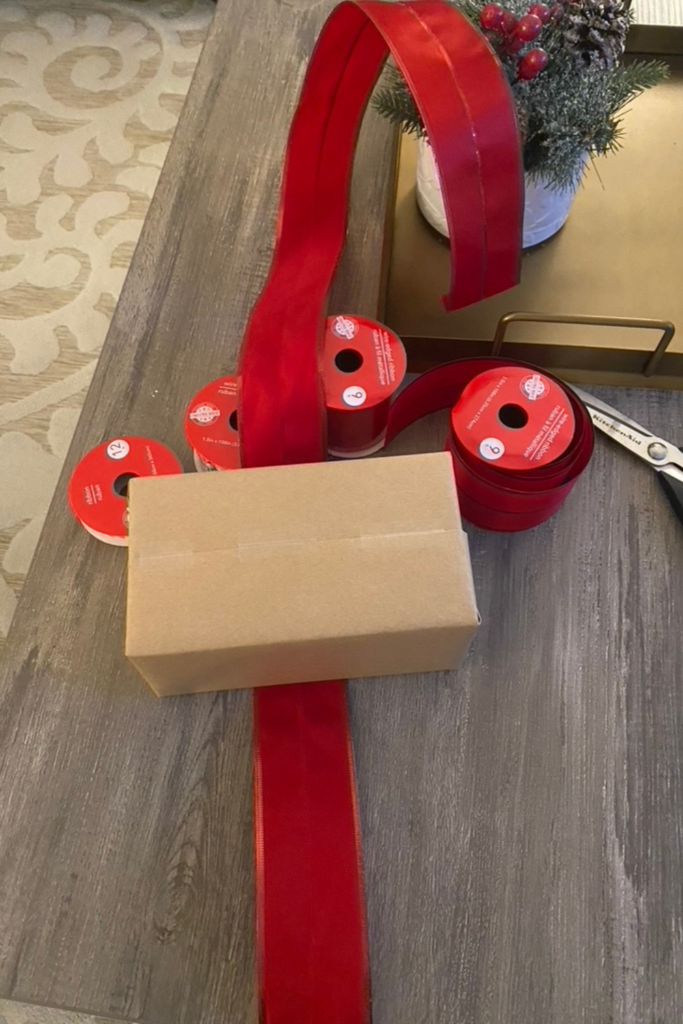
Once your ribbon is cut, flip the gift box over and lay the ribbon flat underneath the box across the width of the box.
Step 3: Wrap the Ribbon Around the Gift
Now, pull both ends of the ribbon over your box so that they are next to one another.
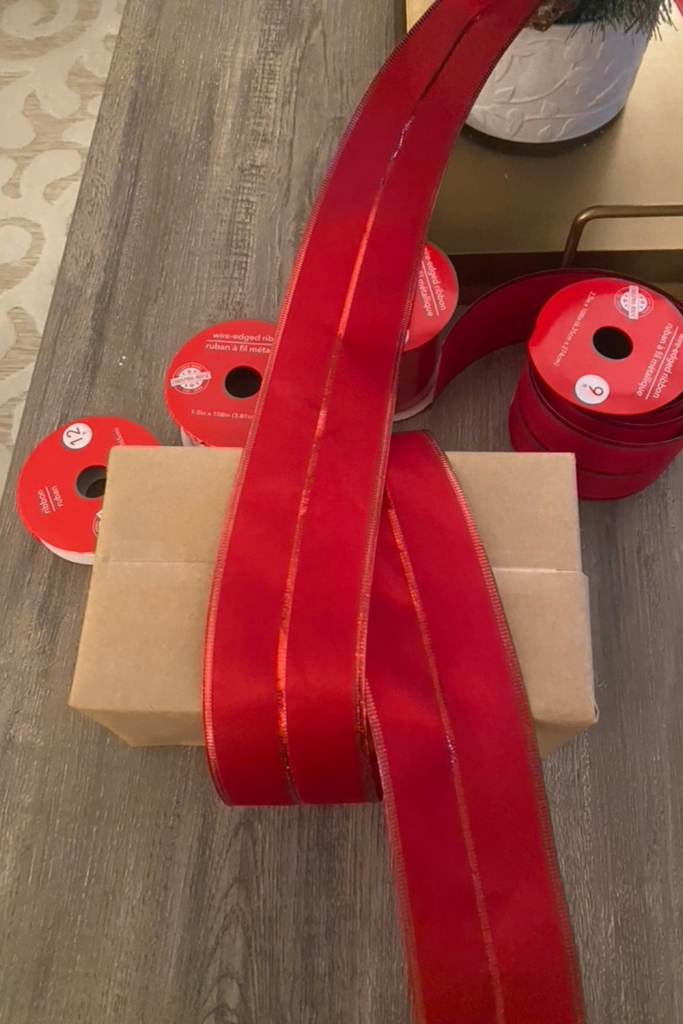
Next, take the ends of the ribbon and twist the ribbon along the box’s length.
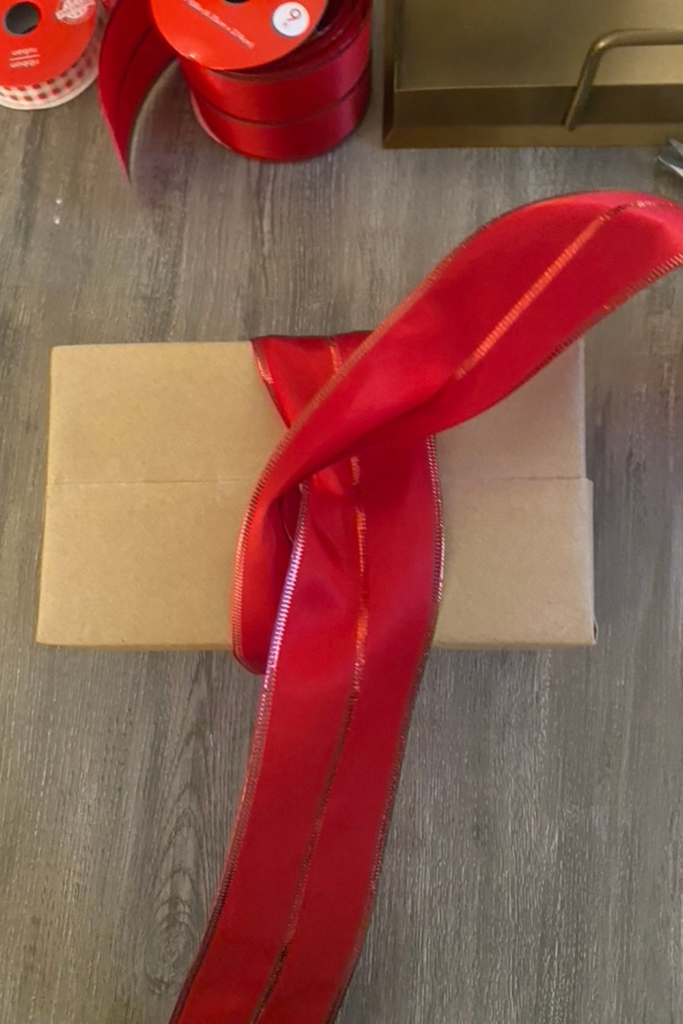
Pull the ends tighter to cross them on the bottom of the gift. Try to make this as flat and neat as you can.
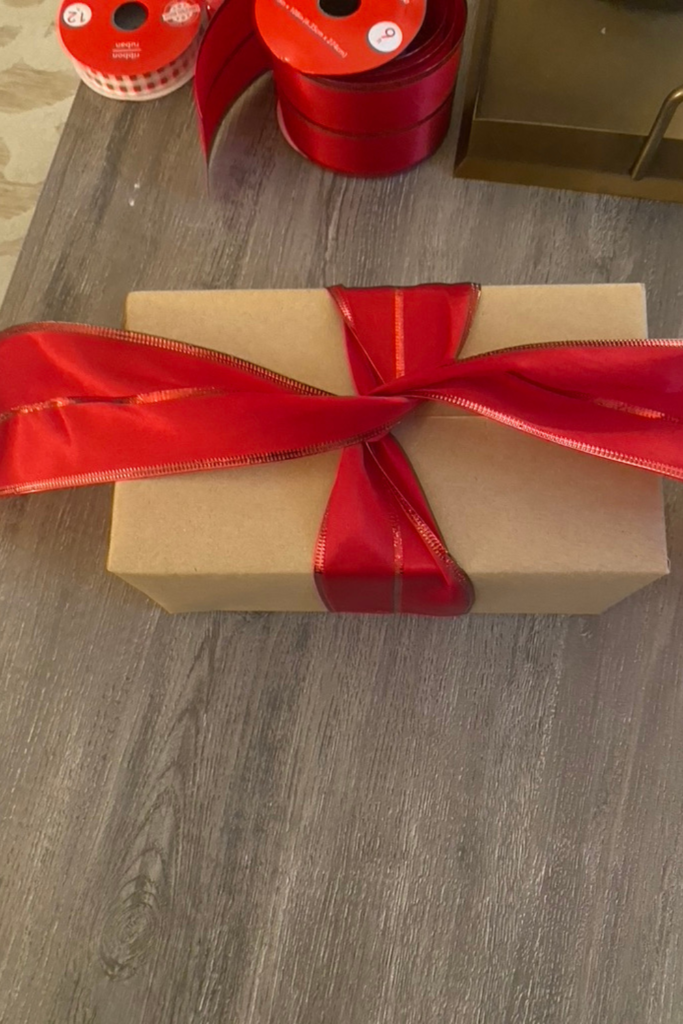
Next, flip the gift over and grab both ends of the ribbon and pull them towards the middle strip.
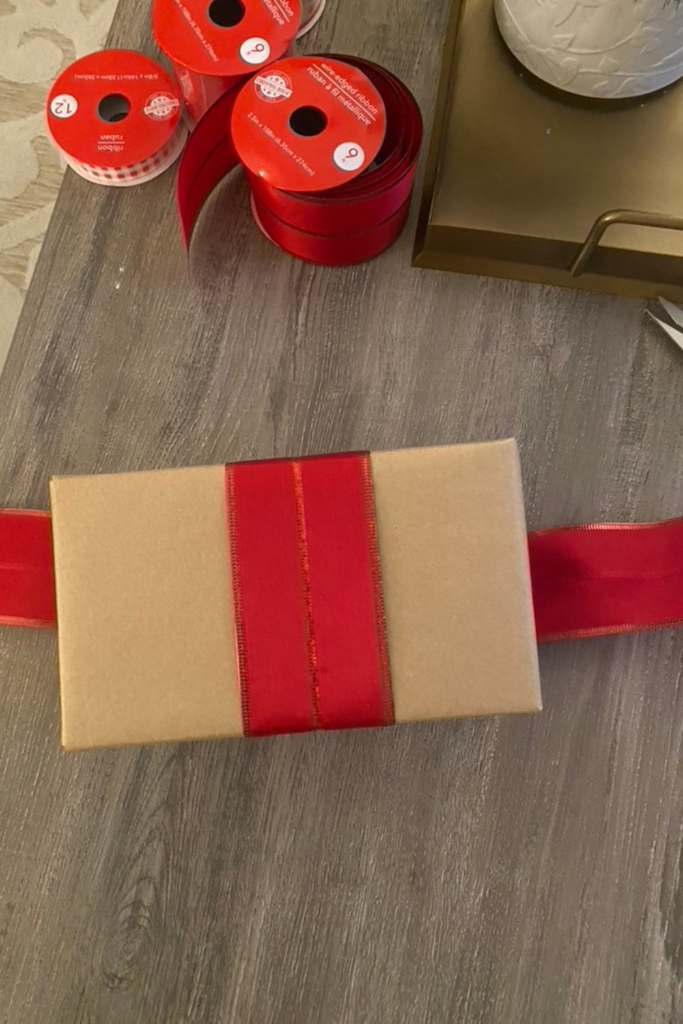
Once you have brought your ribbon to the center, tie a small knot on top. Now your box has ribbon wrapped around it!
TIP: Try to keep the ribbon as straight as possible when wrapping the box for a more polished look.
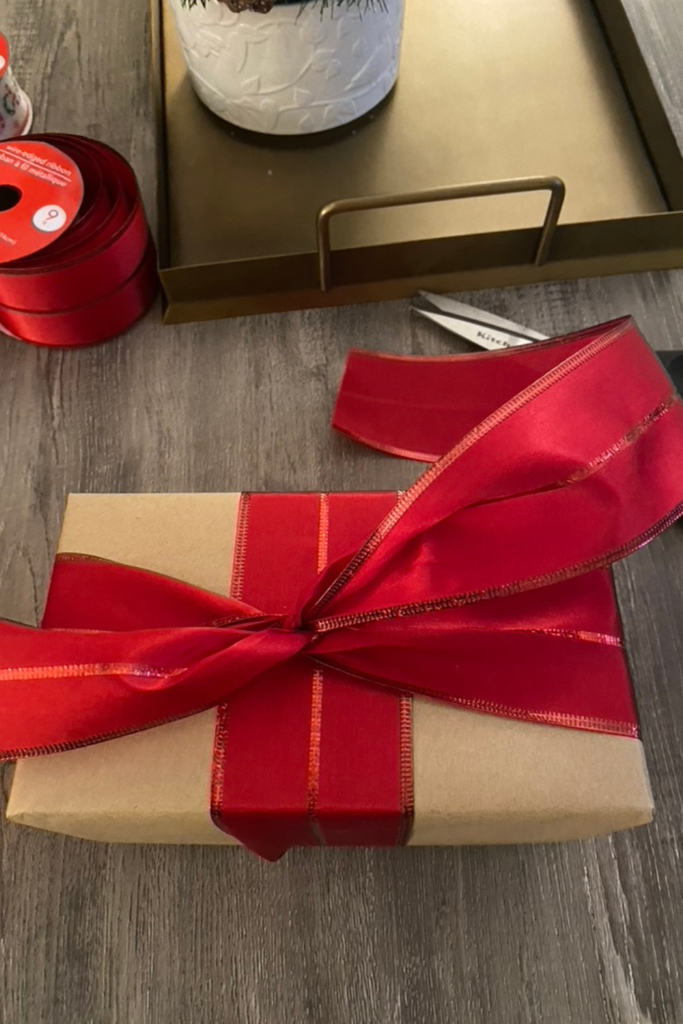
Step 5: Tie the Perfect Bow
Now that your ribbon is wrapped around the gift, it’s time to tie a beautiful bow. Follow these steps for a picture perfect bow every single time:
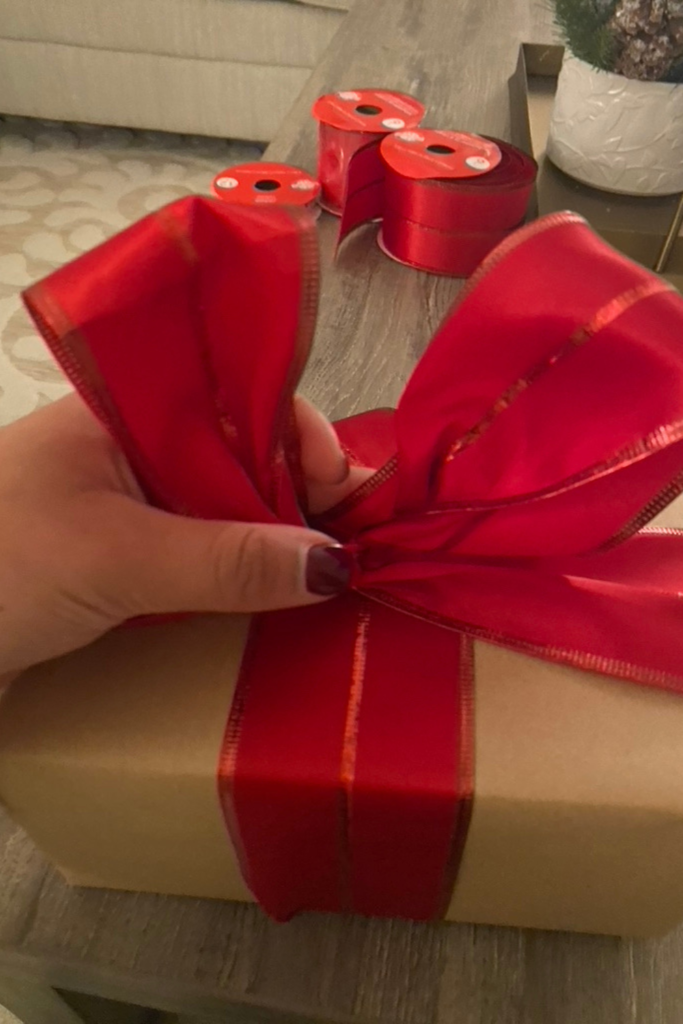
Make Loops: With the ribbon ends in each hand, form two loops (bunny ears).
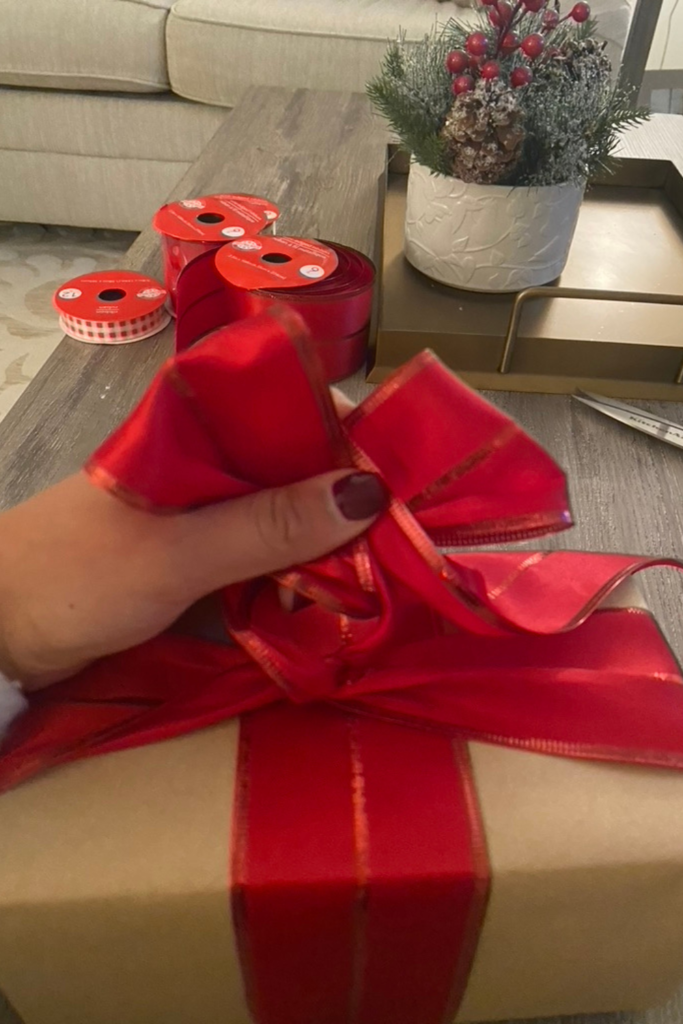
Cross the Loops: Cross one loop over the other, just like tying a shoelace.
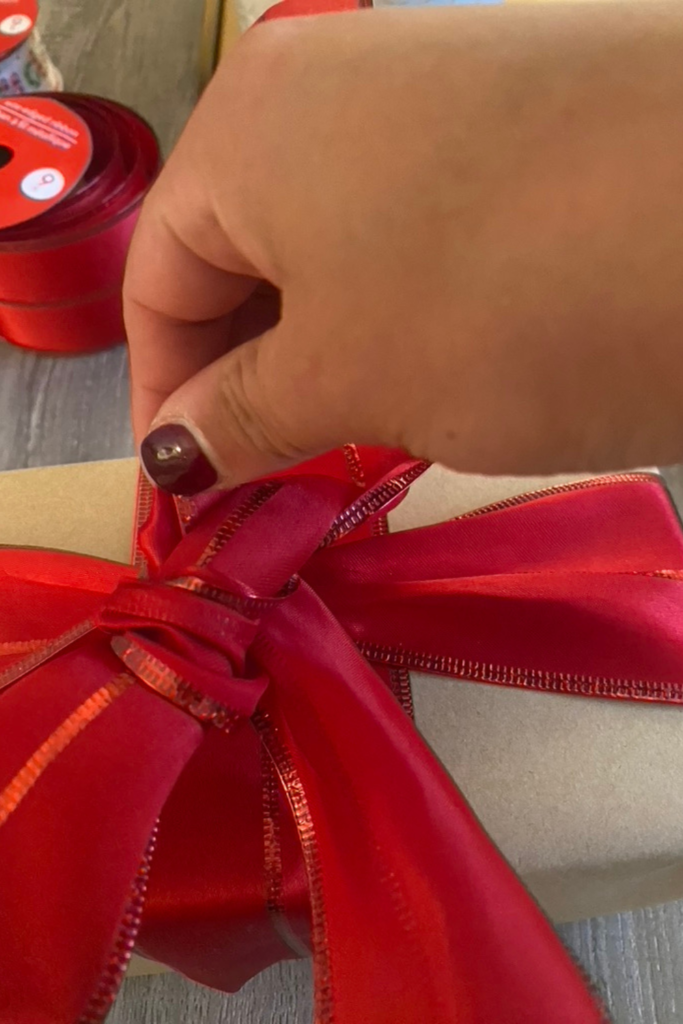
Pull Through: Pull the top loop through the hole created by the cross, forming a knot in the middle.
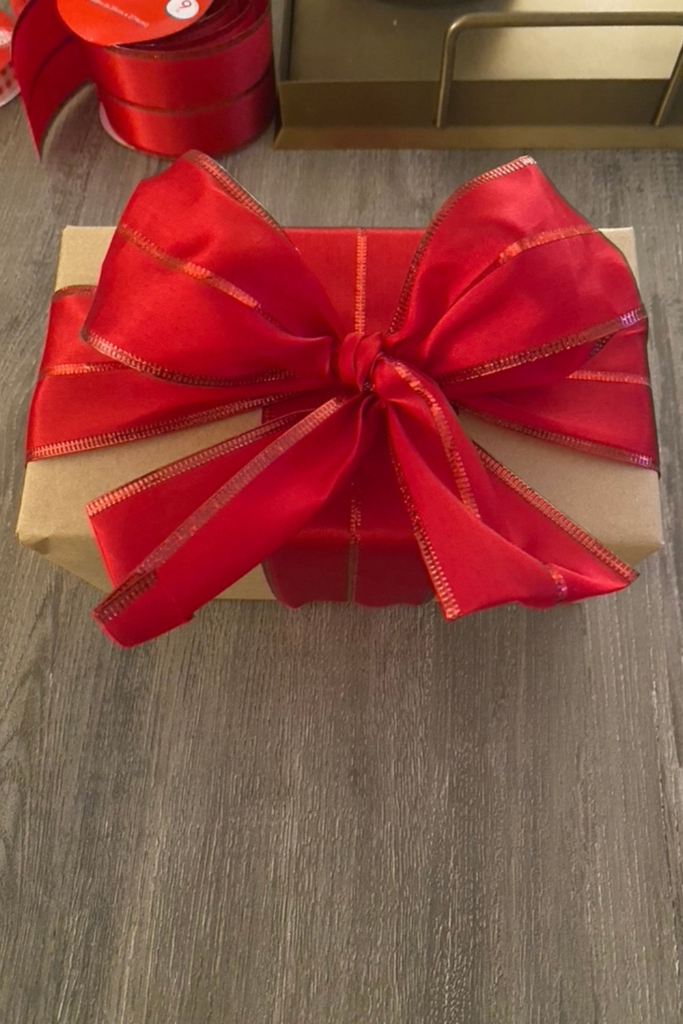
Adjust the Bow: Be sure to gently pull the loops to tighten the bow and adjust them until they are even in size. Fluff the loops to give the bow a fuller appearance.
Don’t forget to trim the ends of your ribbon for a clean look! Opt for a simple diagonal cut or a v cut for an elevated look.
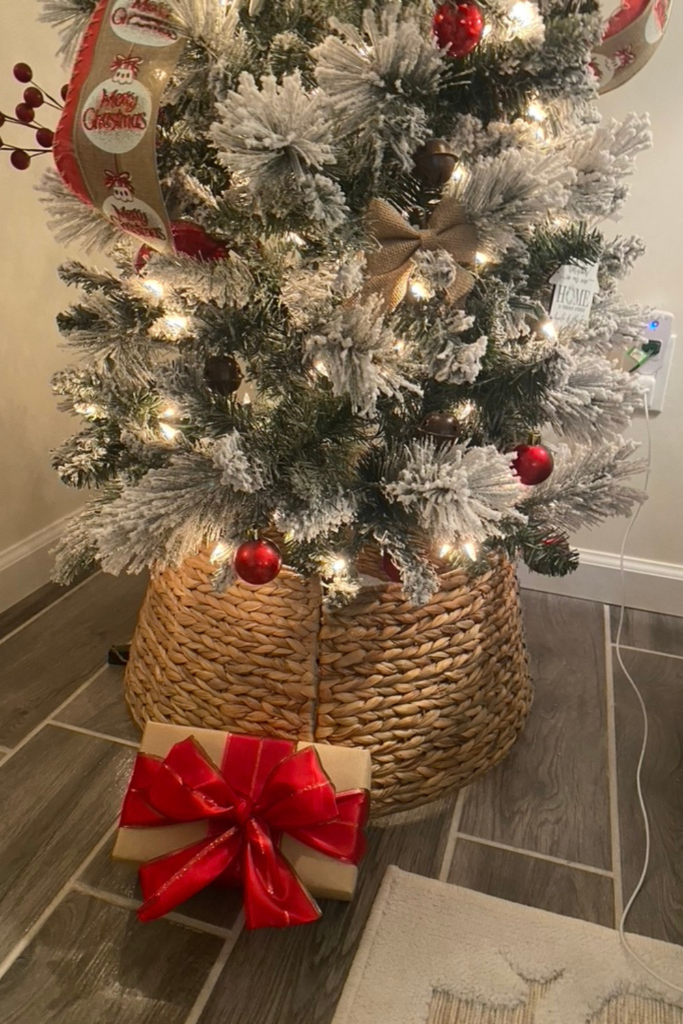
Step 6: Add Extra Embellishments (Optional)
If you want to take your gift wrapping to the next level, consider adding extra finishing touches! Here are some ideas:
- Mini Ornaments: Attach a small ornament or charm to the center of the bow for a festive touch.
- Greenery: Tuck a sprig of greenery, such as pine or eucalyptus, under the ribbon for a natural, elegant look.
- Gift Tags: Thread a personalized gift tag through the ribbon to add a personal message.
Pro Tips for Perfect Ribbon Tying:
- Keep it Tight: Ensure the ribbon is pulled snugly around the gift for a neat and professional appearance. Loose ribbon can look messy and unpolished.
- Use Double-Sided Tape: If your ribbon has a tendency to slip, use double-sided tape to secure it in place, especially on the bottom of the package.
- Practice Makes Perfect: Don’t be afraid to practice tying bows on smaller objects before moving on to your actual gift. The more you practice, the better your bows will look.
This blog post was all about how to tie ribbon around a gift.
CHECK OUT OUR SIMILAR BLOG POSTS:
- 51 Best Christmas Gift Ideas 2024
- How to Make a Simple Bow with Ribbon
- Quick and Easy DIY Christmas Wreath

